Introduction
RainierOne holds a very special place in my heart, being my first project to fly to space. The project started in September 2016, and flew on December 12, 2017 on the first flight of Blue Origins new crew capsule. It was accomplished on a tight timeline and budget while successfully completing all objectives during the flight. RainierOne was a 2U CubeSat form-factor payload that flew in the pressurized section of the crew capsule. It performed a fluid dynamics experiment on immiscible liquids (aka oil and water) by agitating the liquid, then observing the interaction during microgravity. Additionally, I designed the payload to be modular, allowing future high school teams to easily modify the base design to fit their experiment needs. For this project, I was the lead of the design and build team, managing a team of 3 other students throughout the testing and manufacturing of the payload. It was an incredible experience!
Table of Contents
Design Overview
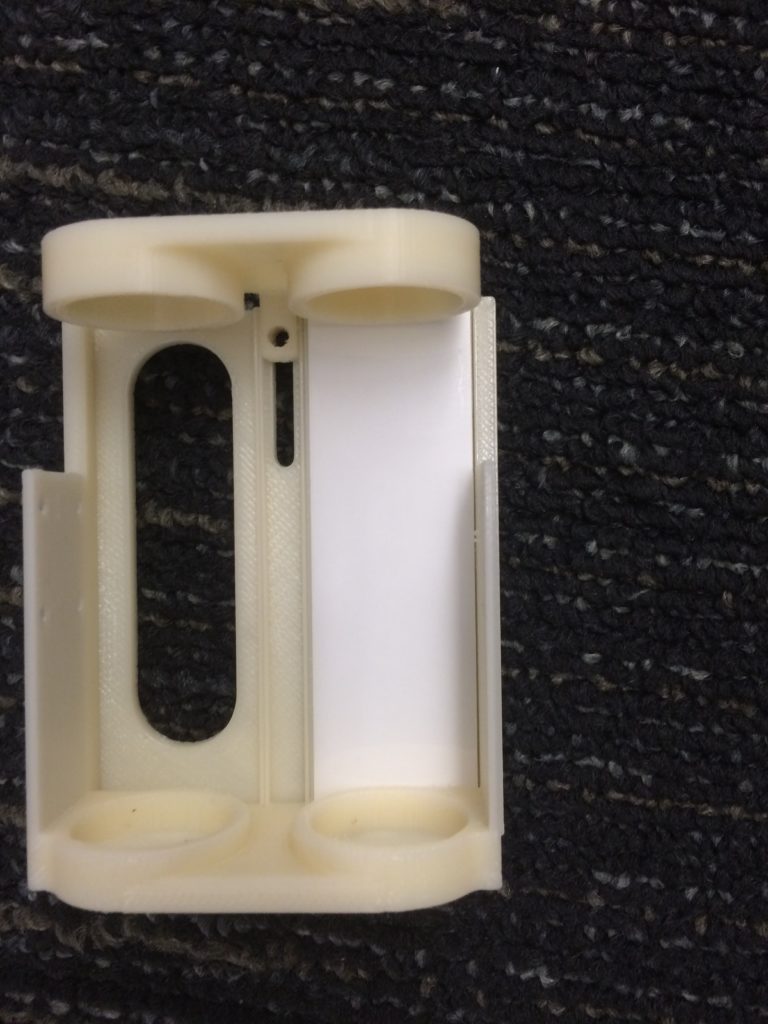
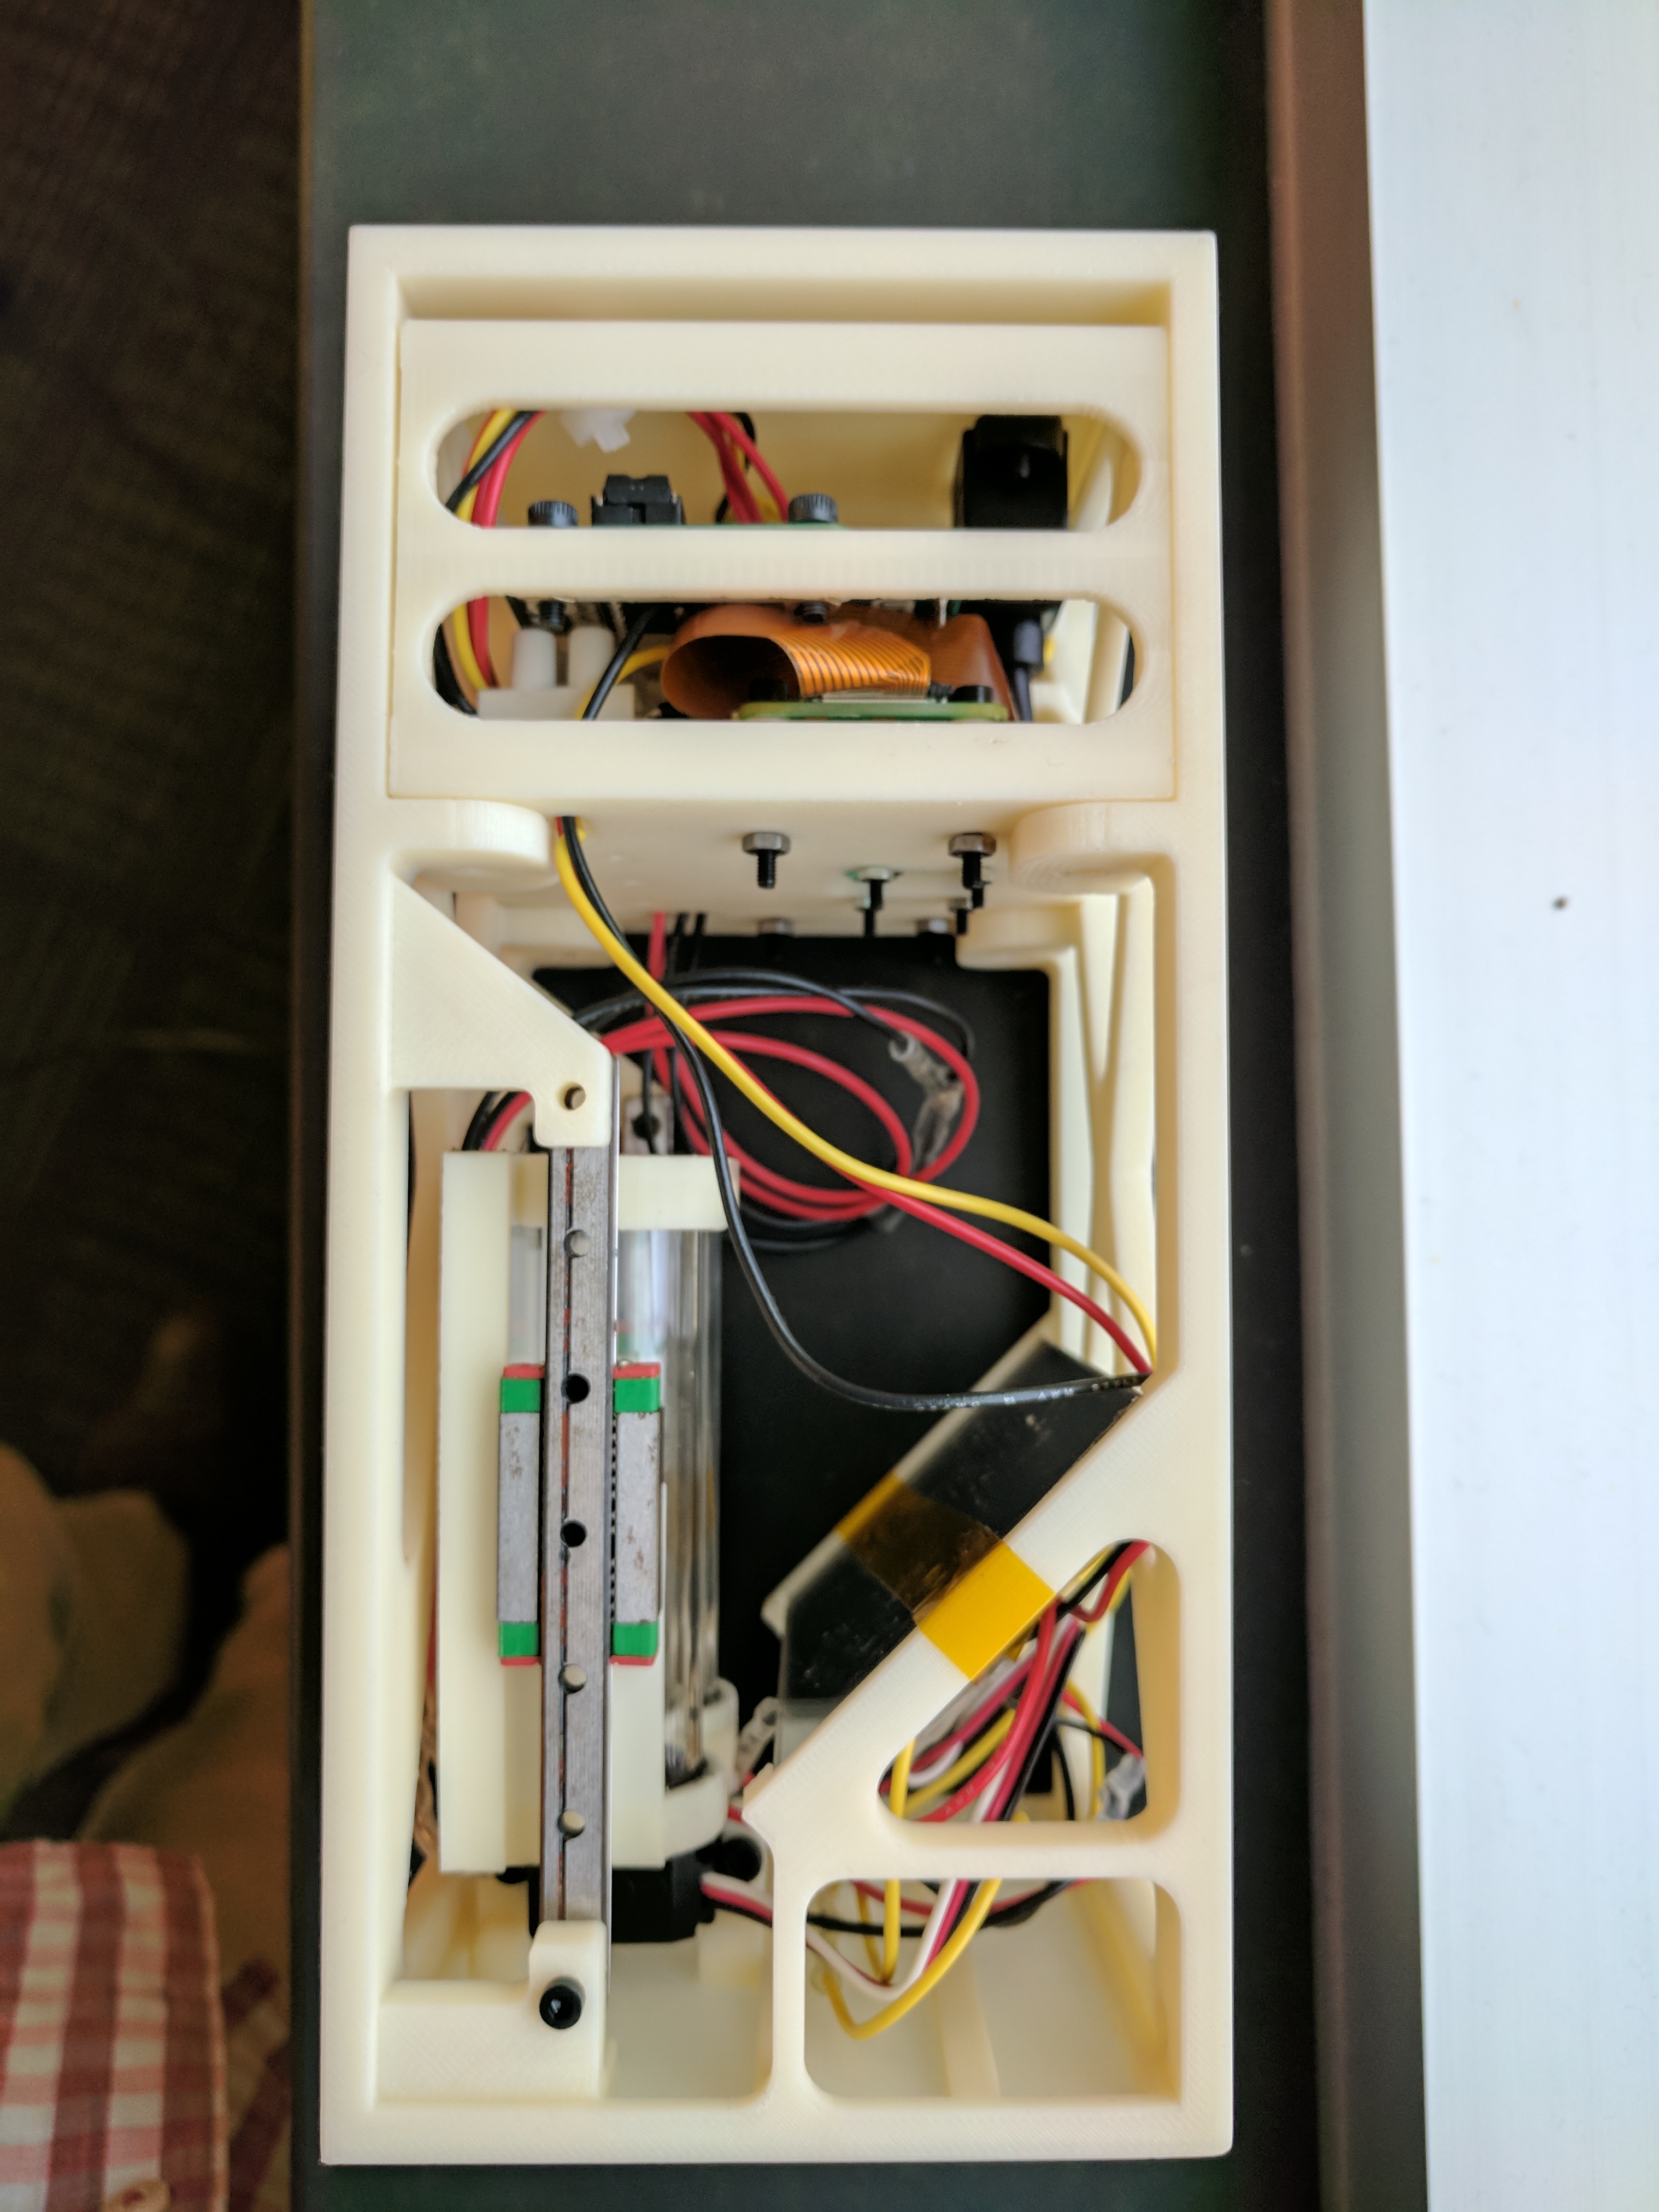
The fluid dynamics experiment had been chosen by another team, so it was up to the design team to best achieve the desired result. A huge constraint was mass, with the maximum allowable weight being 500g (more on that later). We had access to a couple of very nice 3D printers at school, which allowed flight hardware to be printed on campus without having to deal with external vendors. The basic structure consisted of an inner and outer PLA shell, fastened by 8 flathead screws. This was also my first ever project done in Autodesk Inventor, so it was also a big learning process for me.
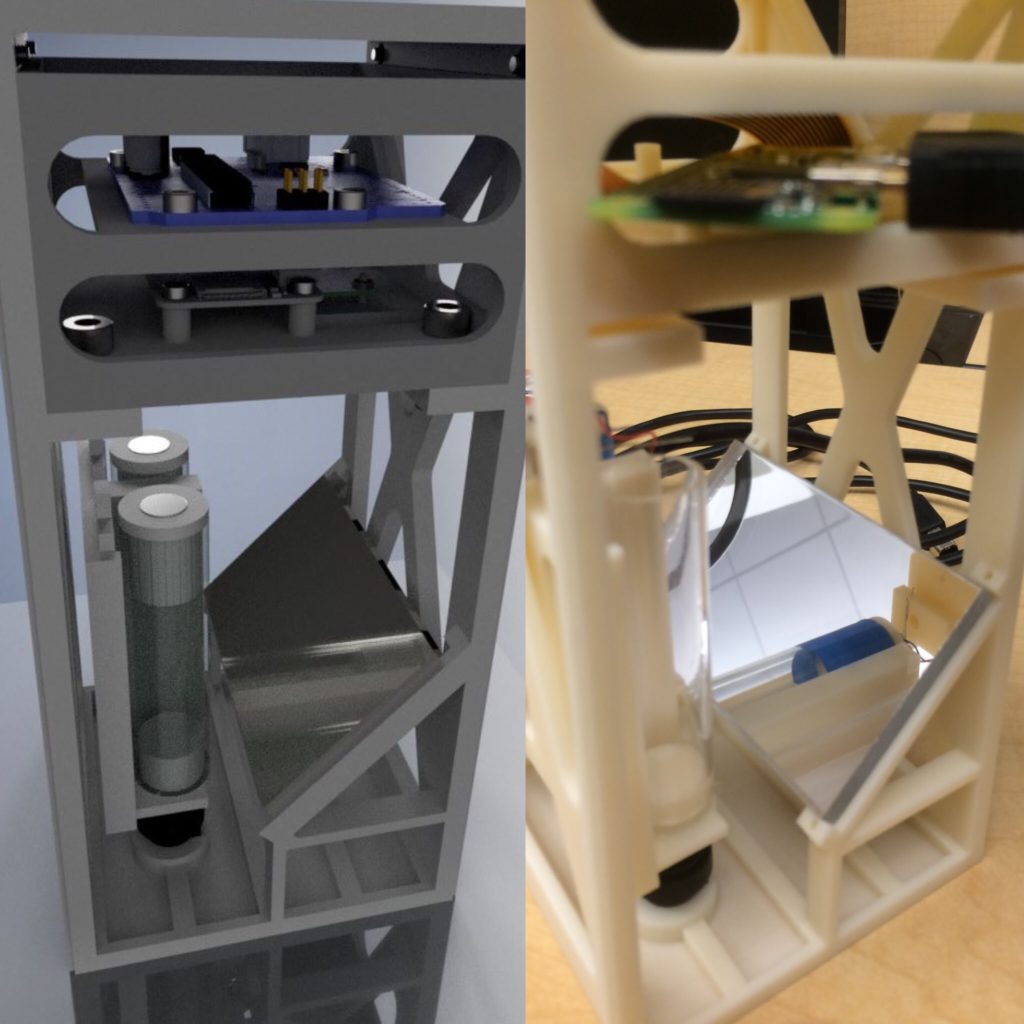
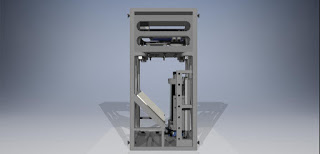
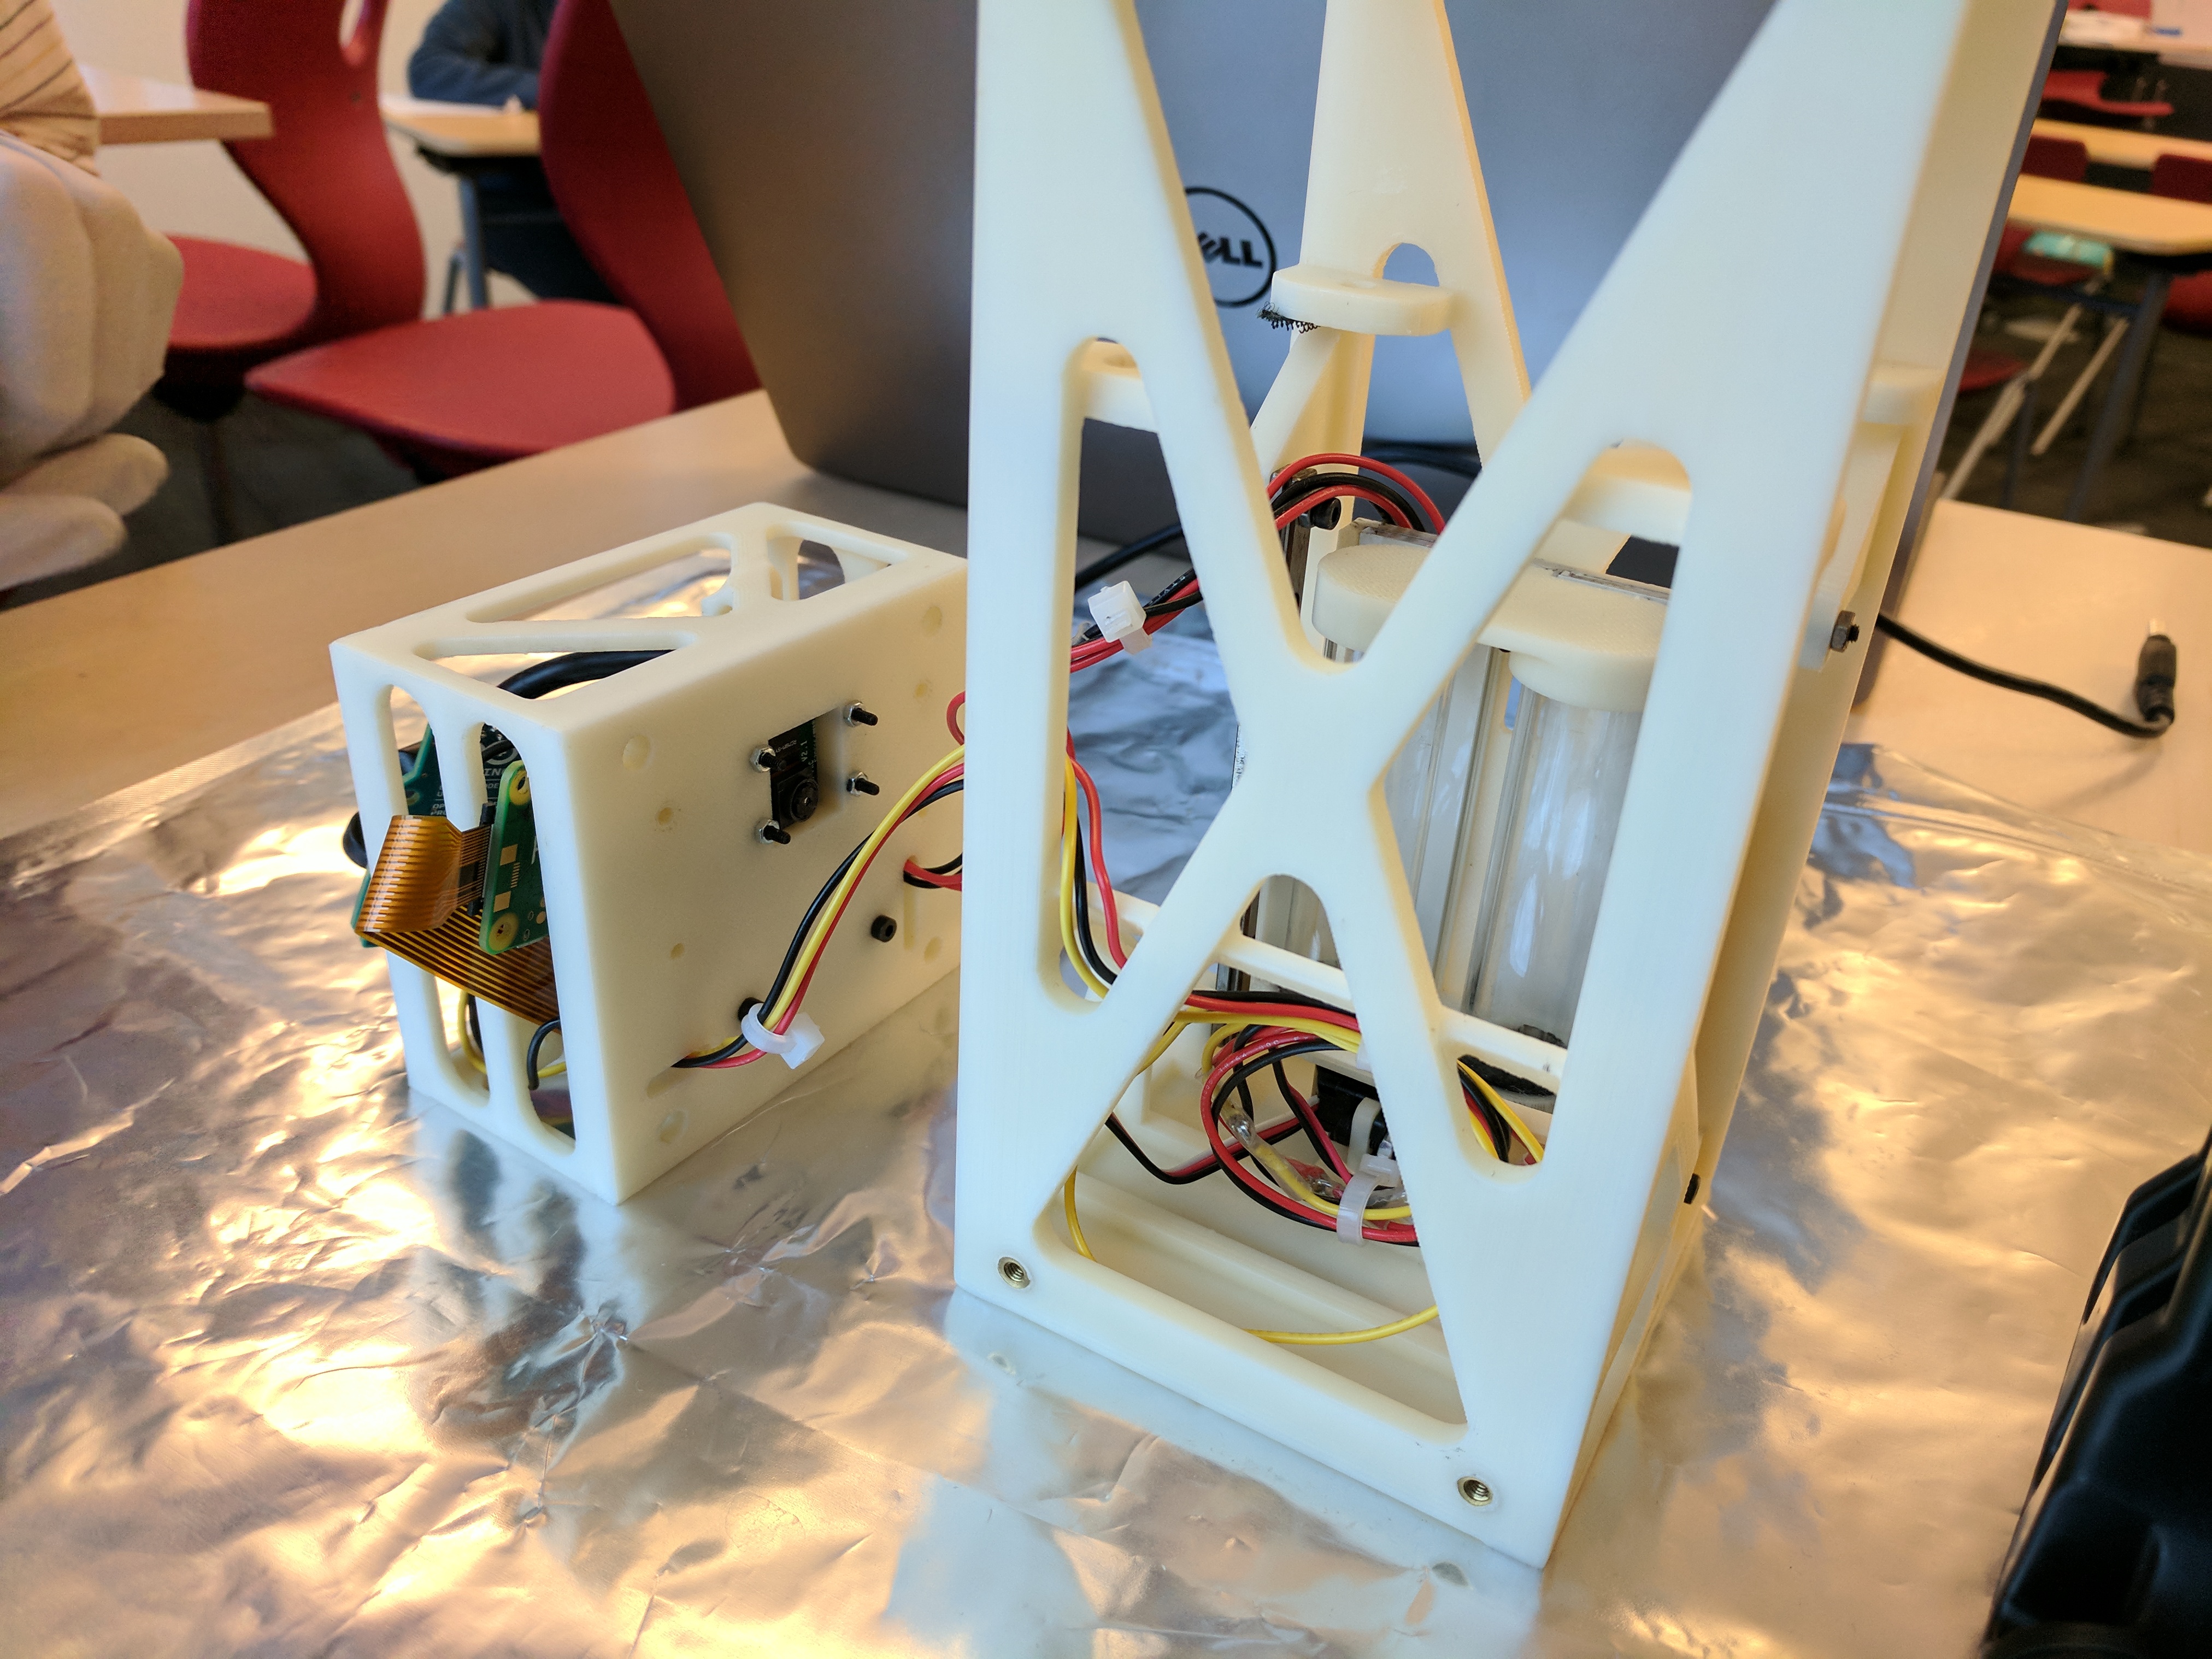
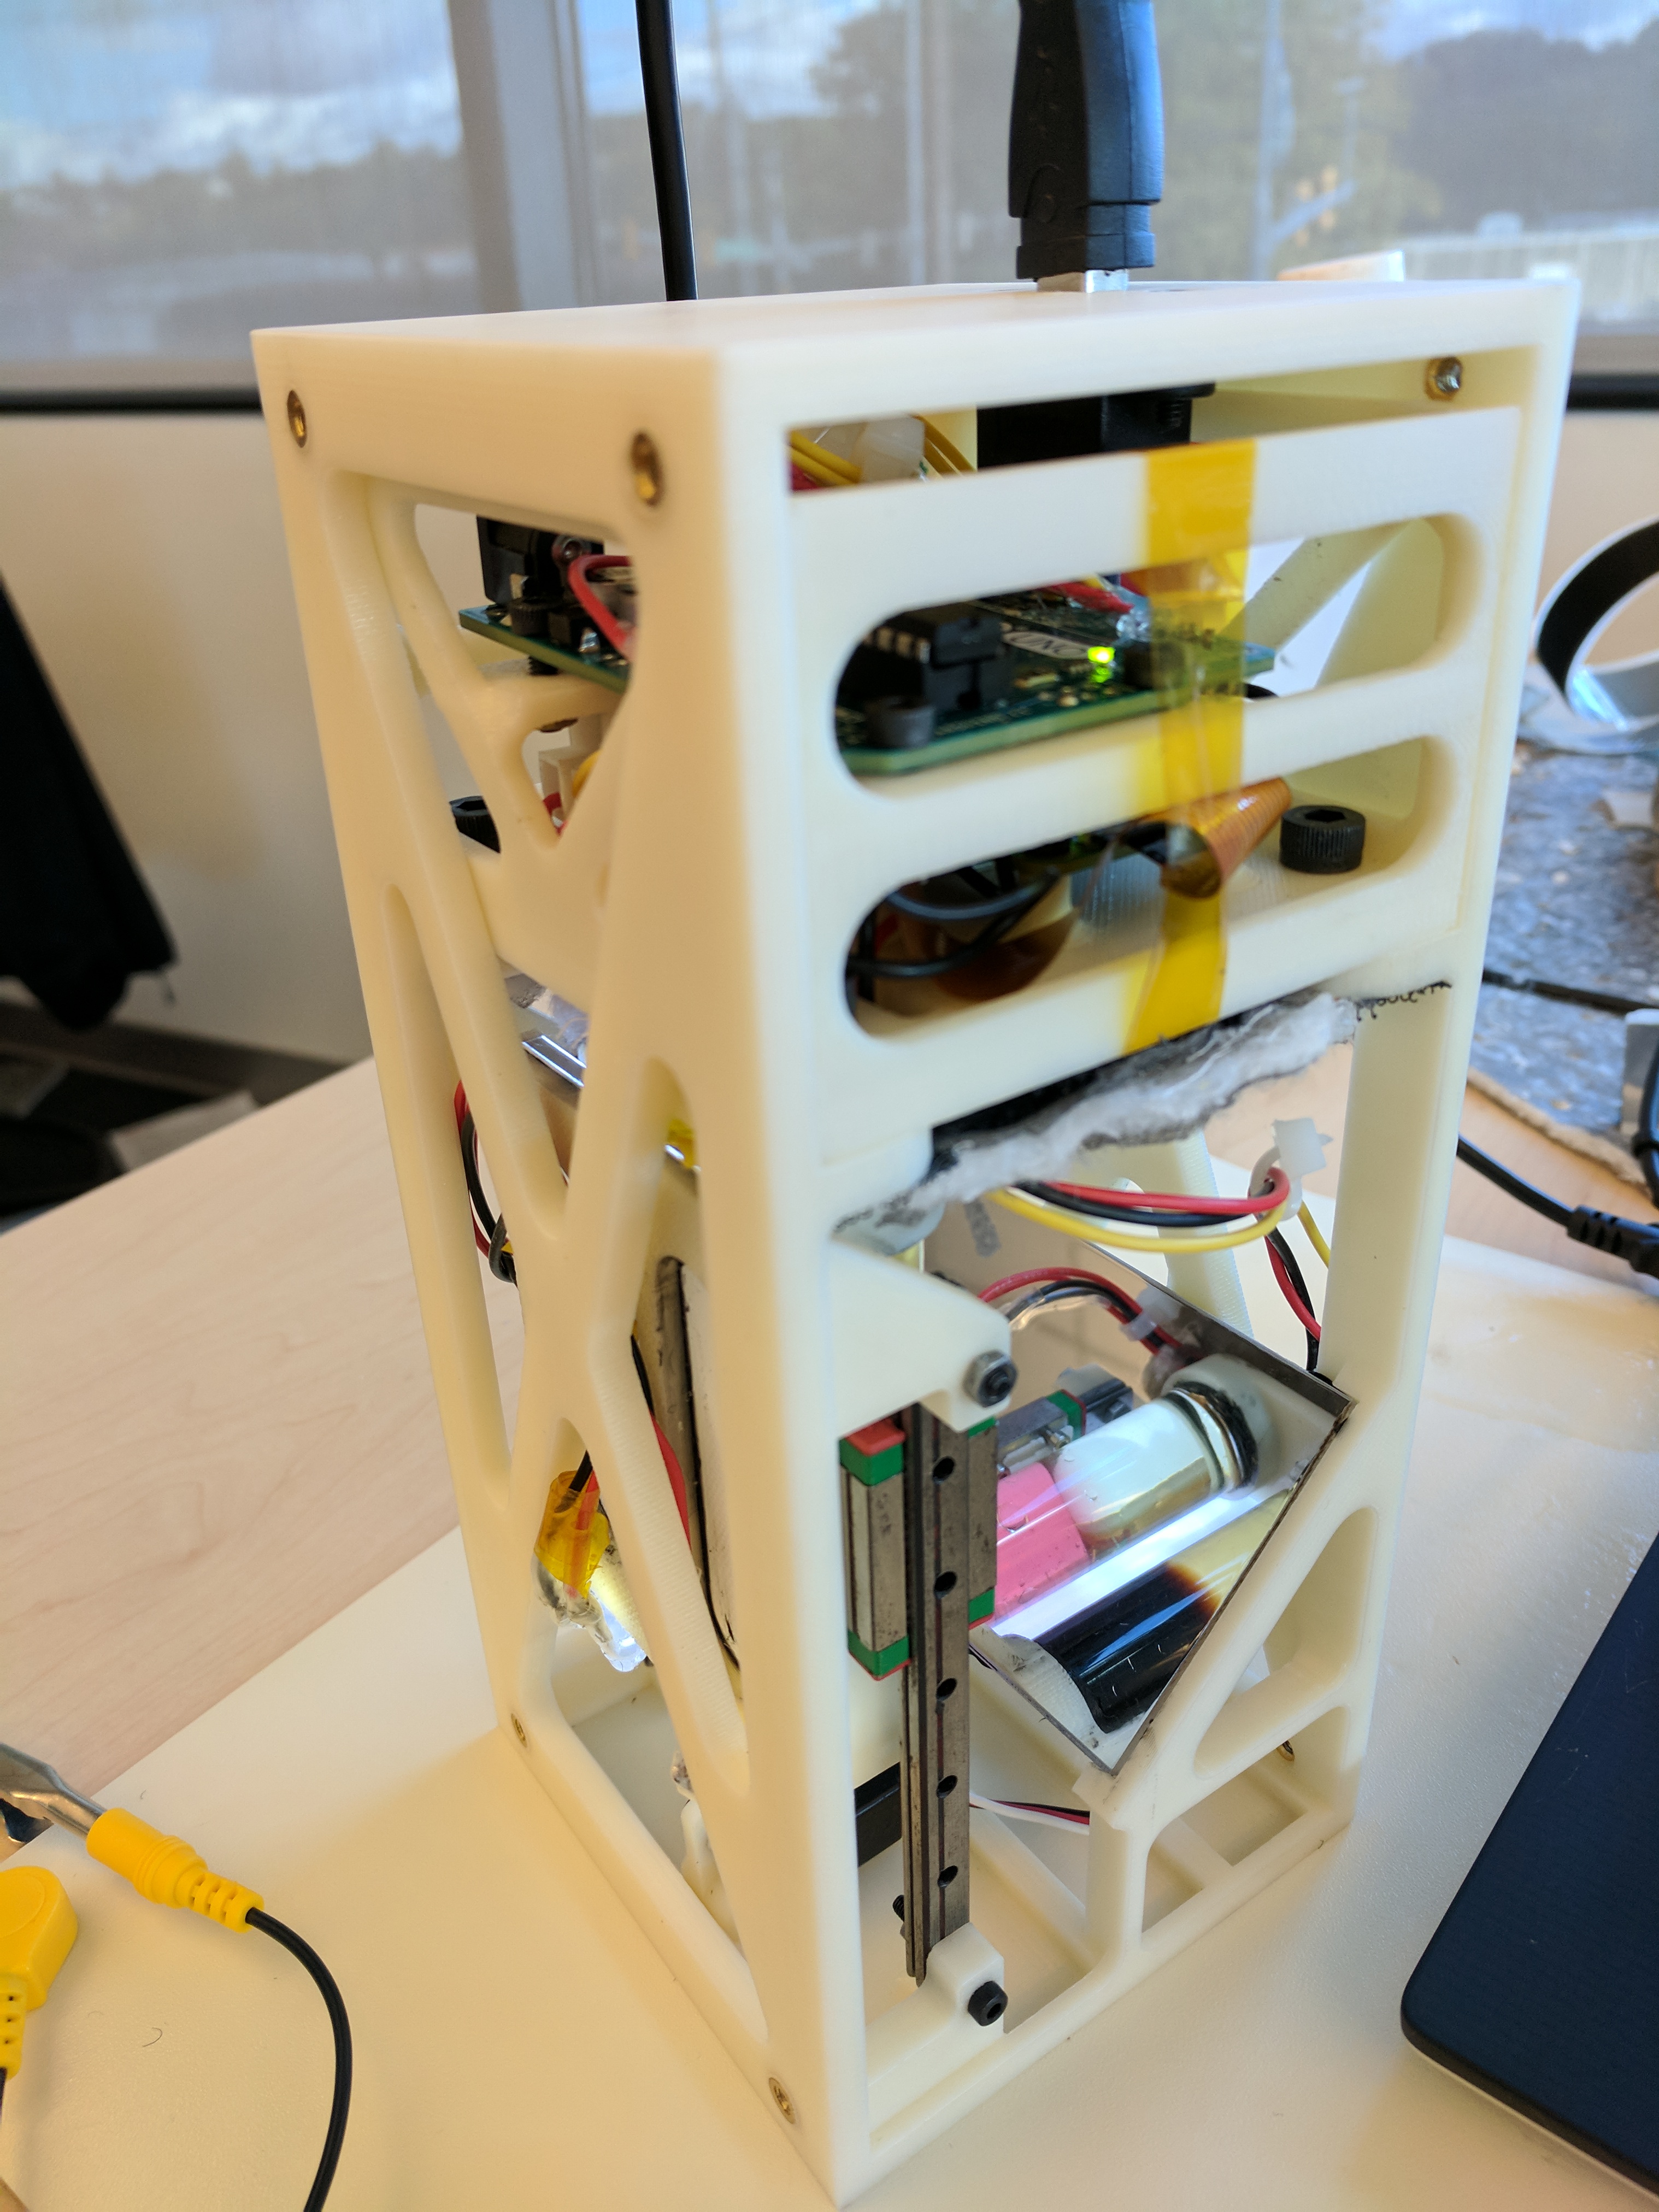
The plan was to agitate the liquid with two pager motors. Two tubes were used to test different fluid combinations. The avionics are located in the top of the payload, with a raspberry pi camera facing downward to record visual data. The mirror is to create a long enough focal length to image the entirety of the fluid tubes.
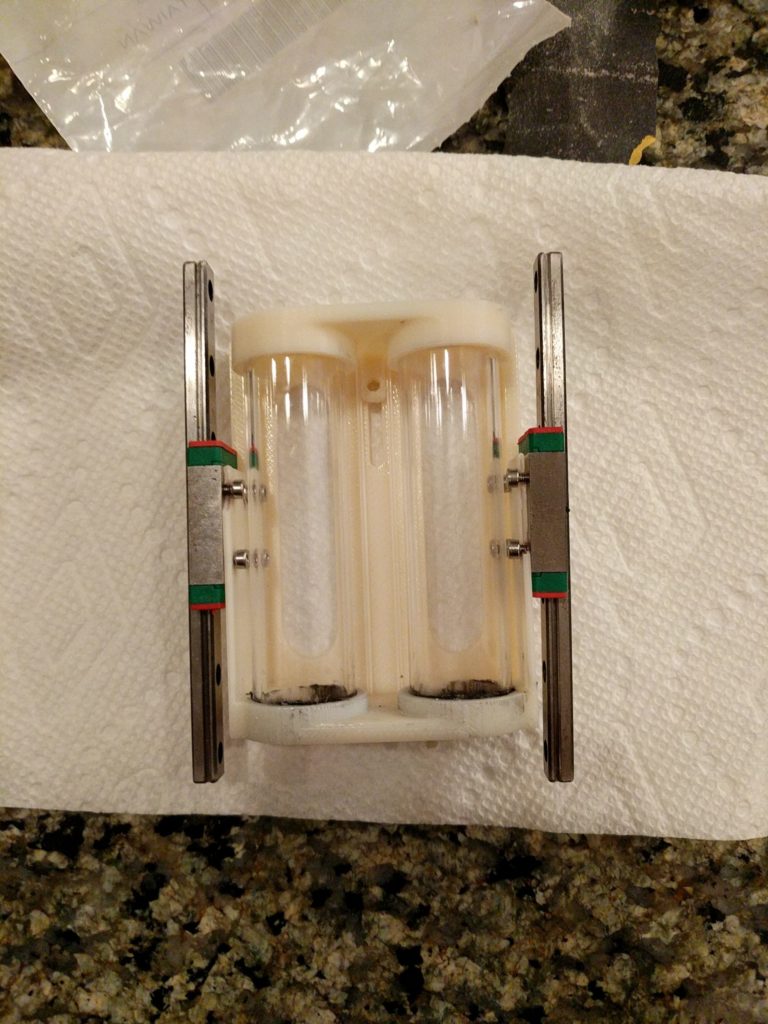
Very quickly we realized the pager motors weren’t going to work. We devised a new method using linear slide rails and a servo to shake the fluid assembly. I also added some LED backlights to provide consistent and glare-free illumination for the experiment.
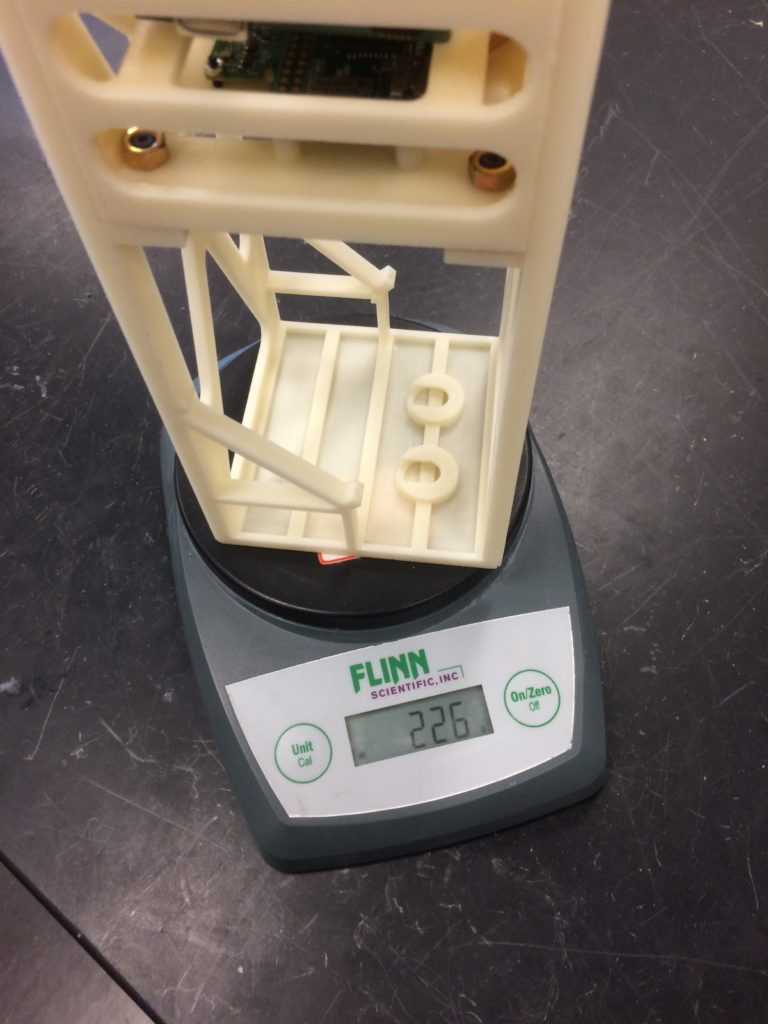
By September 2017, we had a ship date and the time crunch to finish the payload really set in. We printed the final parts and assembled the payload for shipment within a month. It’s a testament to the prototyping that everything fit together perfectly for final integration. We realized around this time that the payload was 200 grams overweight. While it would have been possible to redesign components to fix this, we were afforded a very generous waiver that allowed us to fly. We had designed the payload to survive a worst-case high-g “escape event” scenario. In hindsight, it would have still been acceptable to fly with a less robust structure as long the fluid containment system remained intact.
Avionics
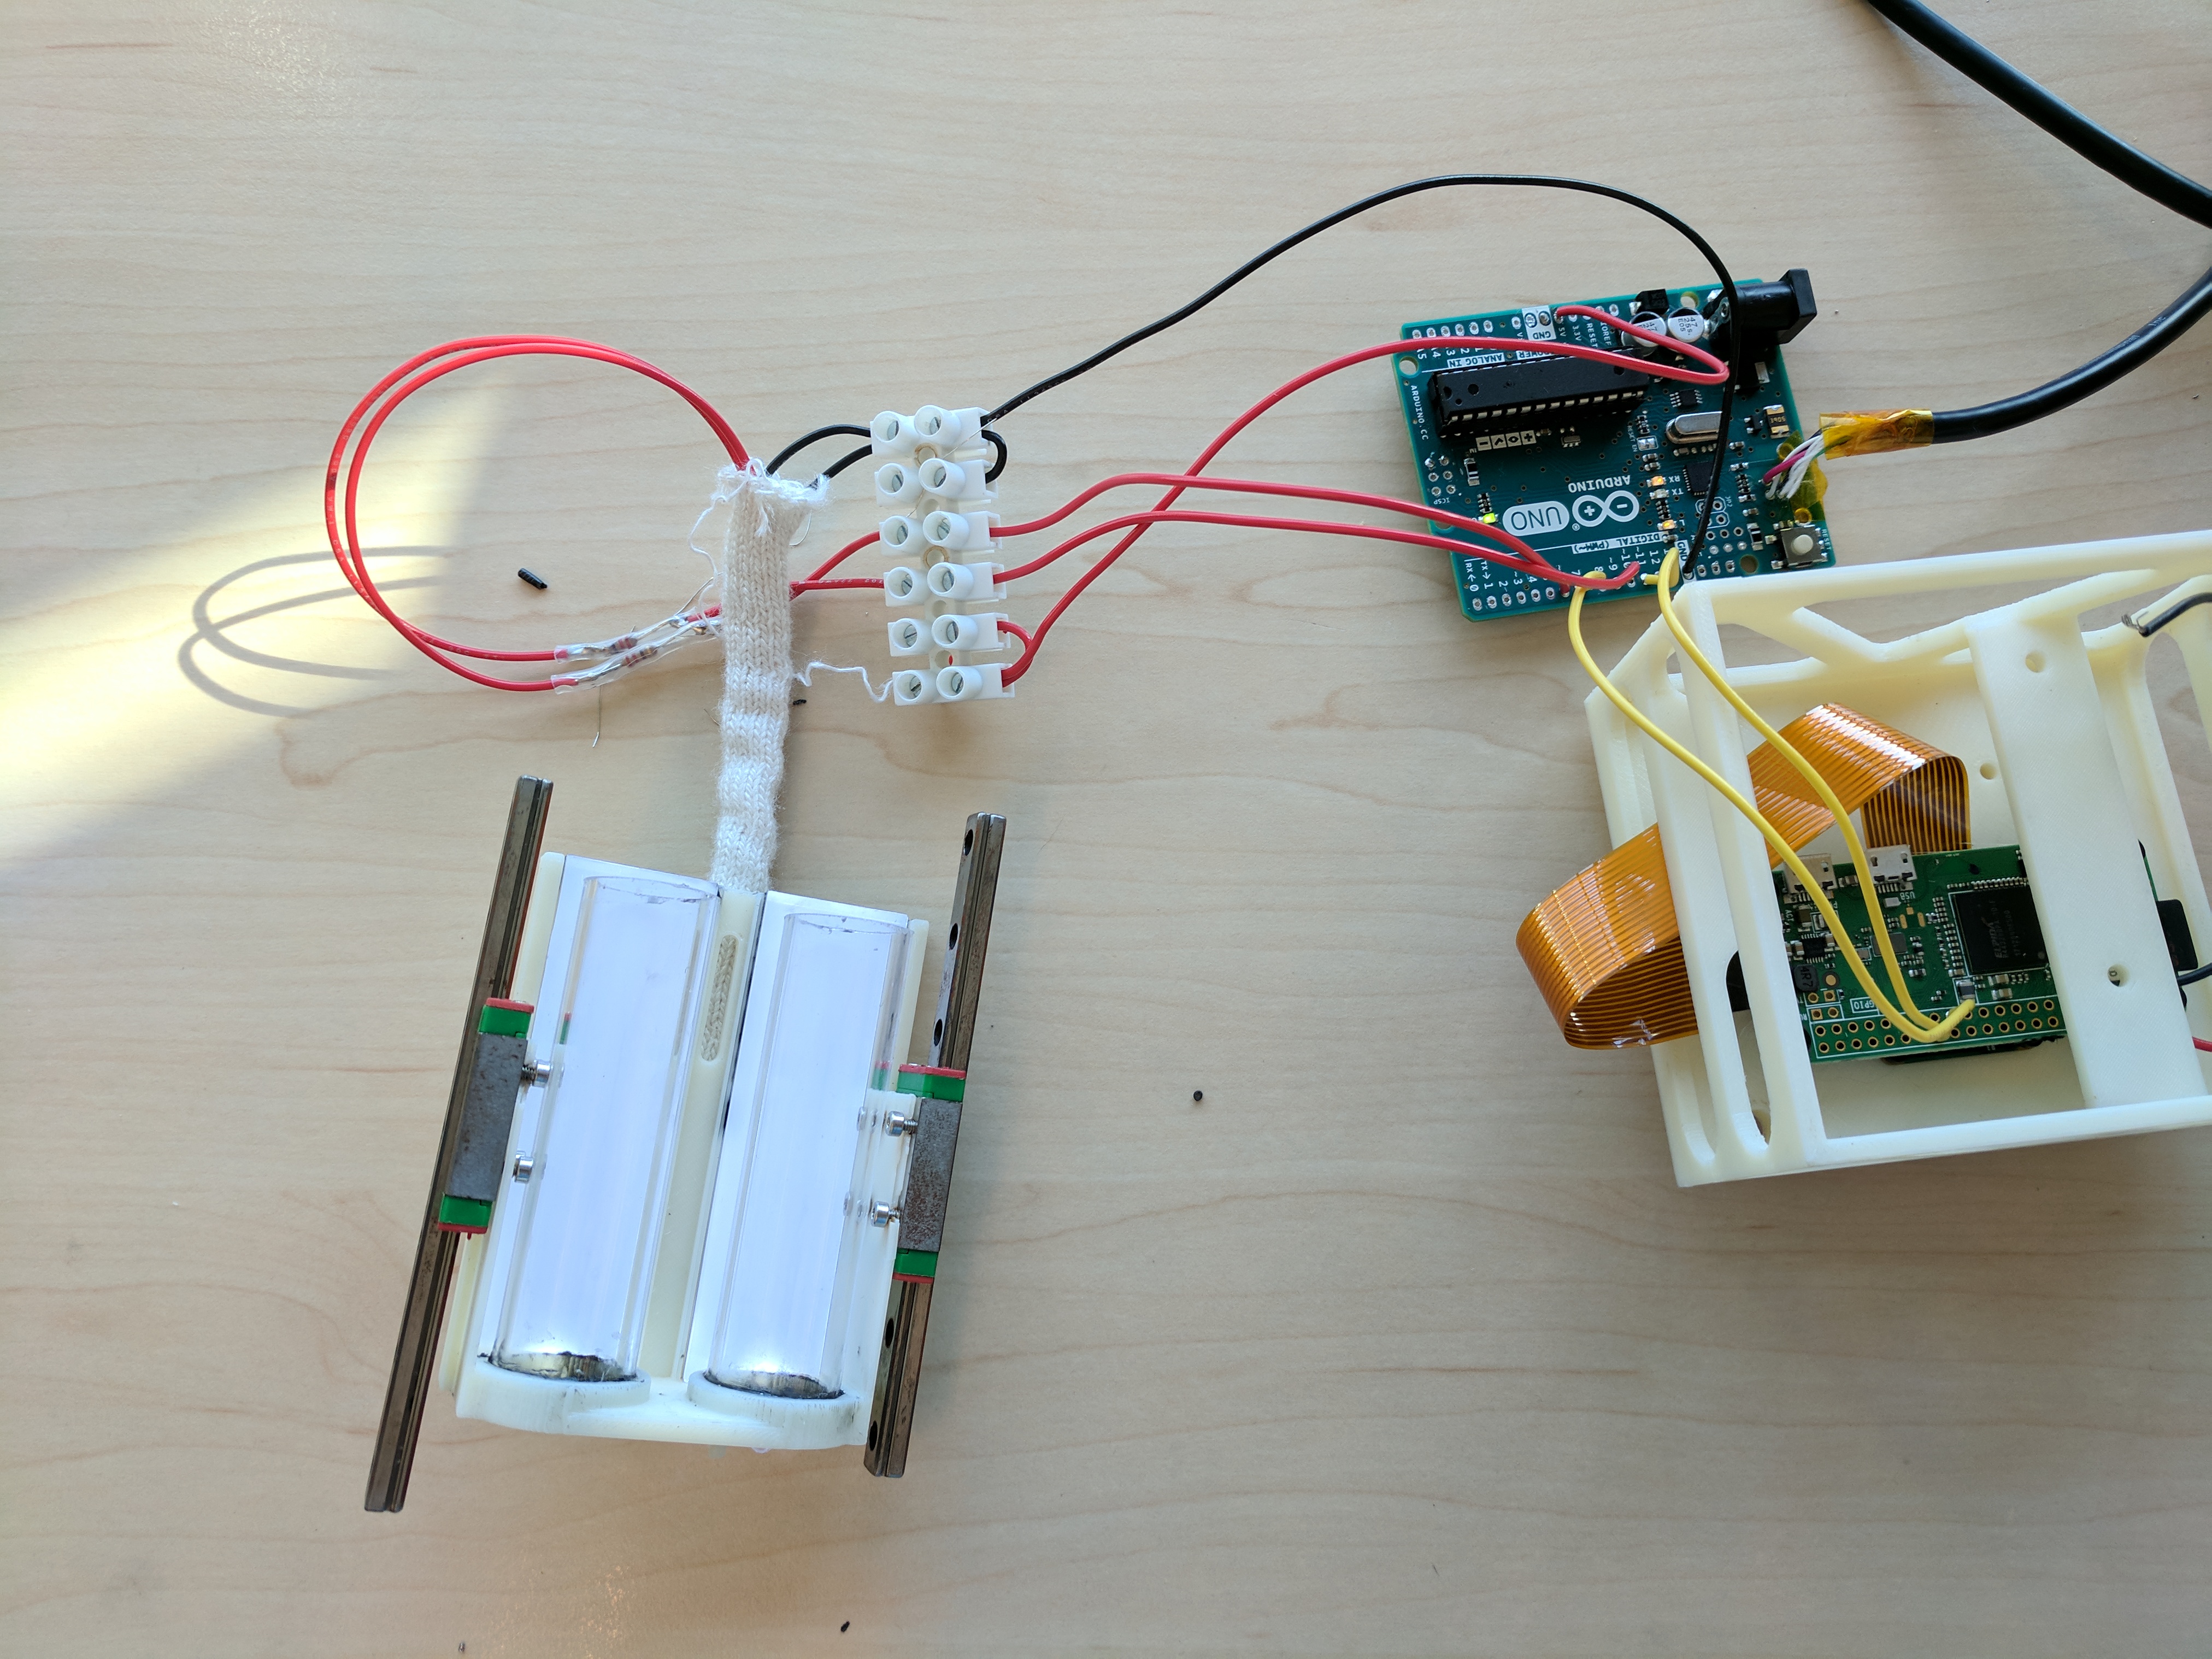
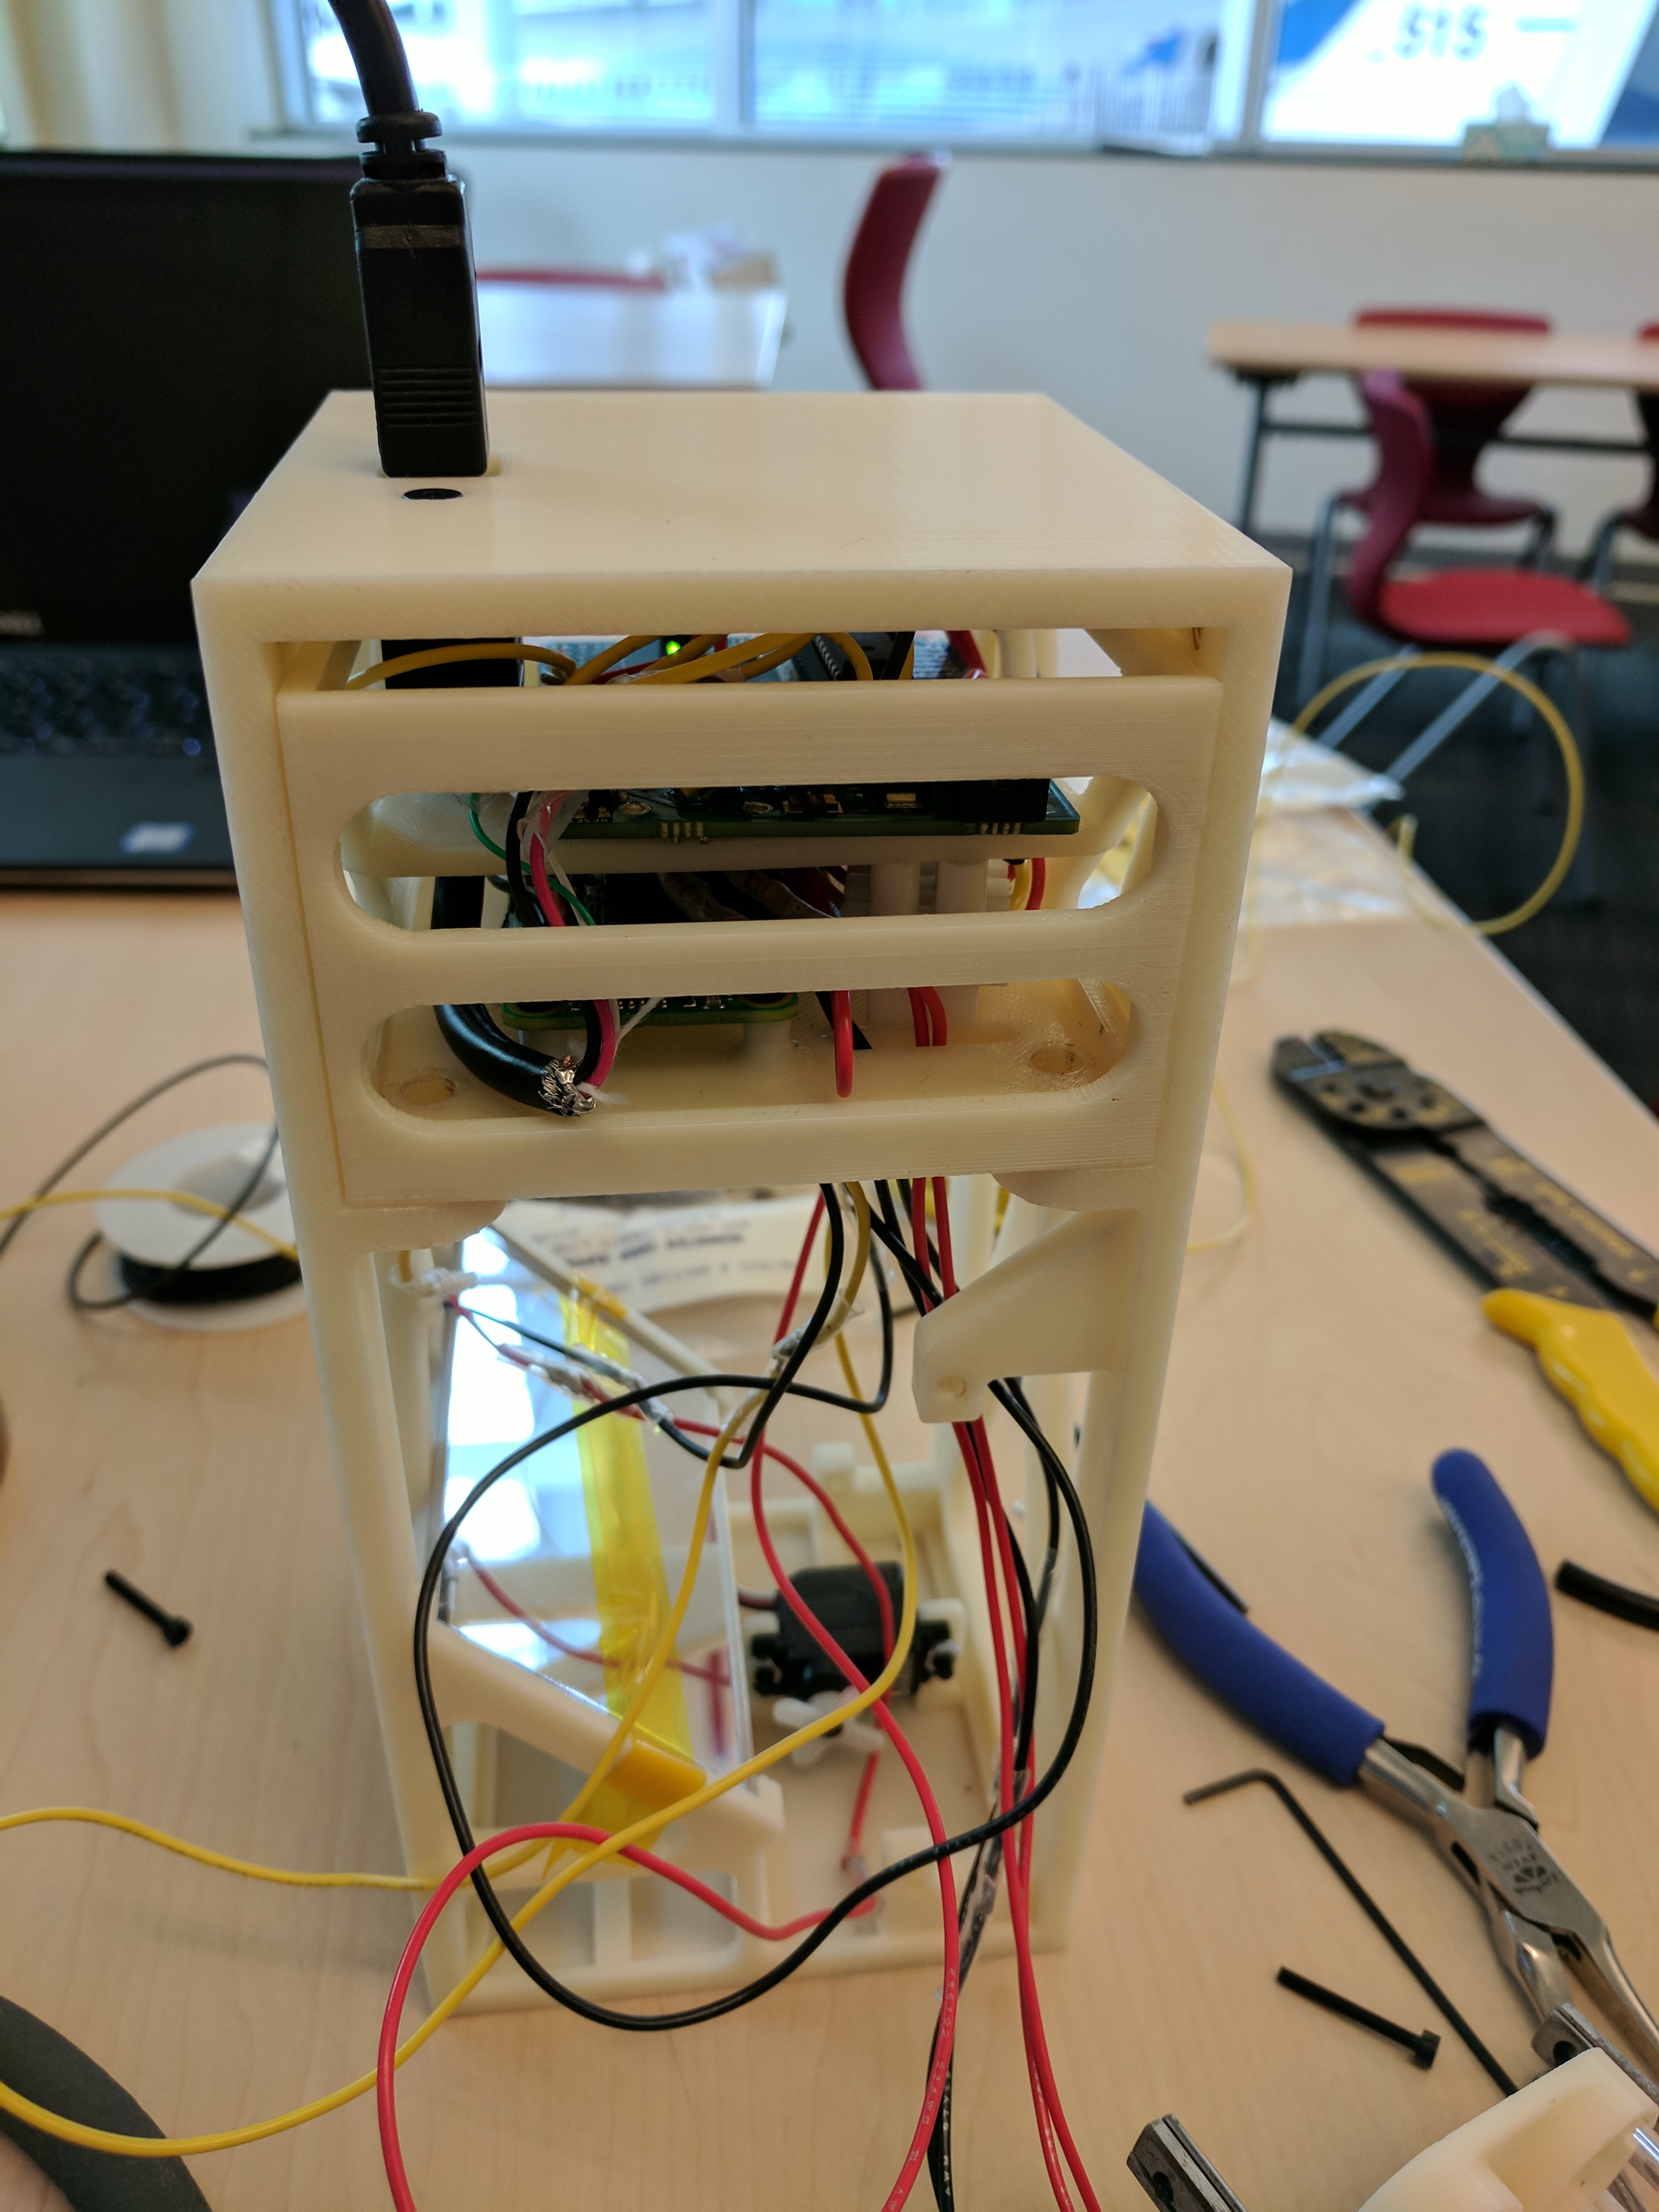
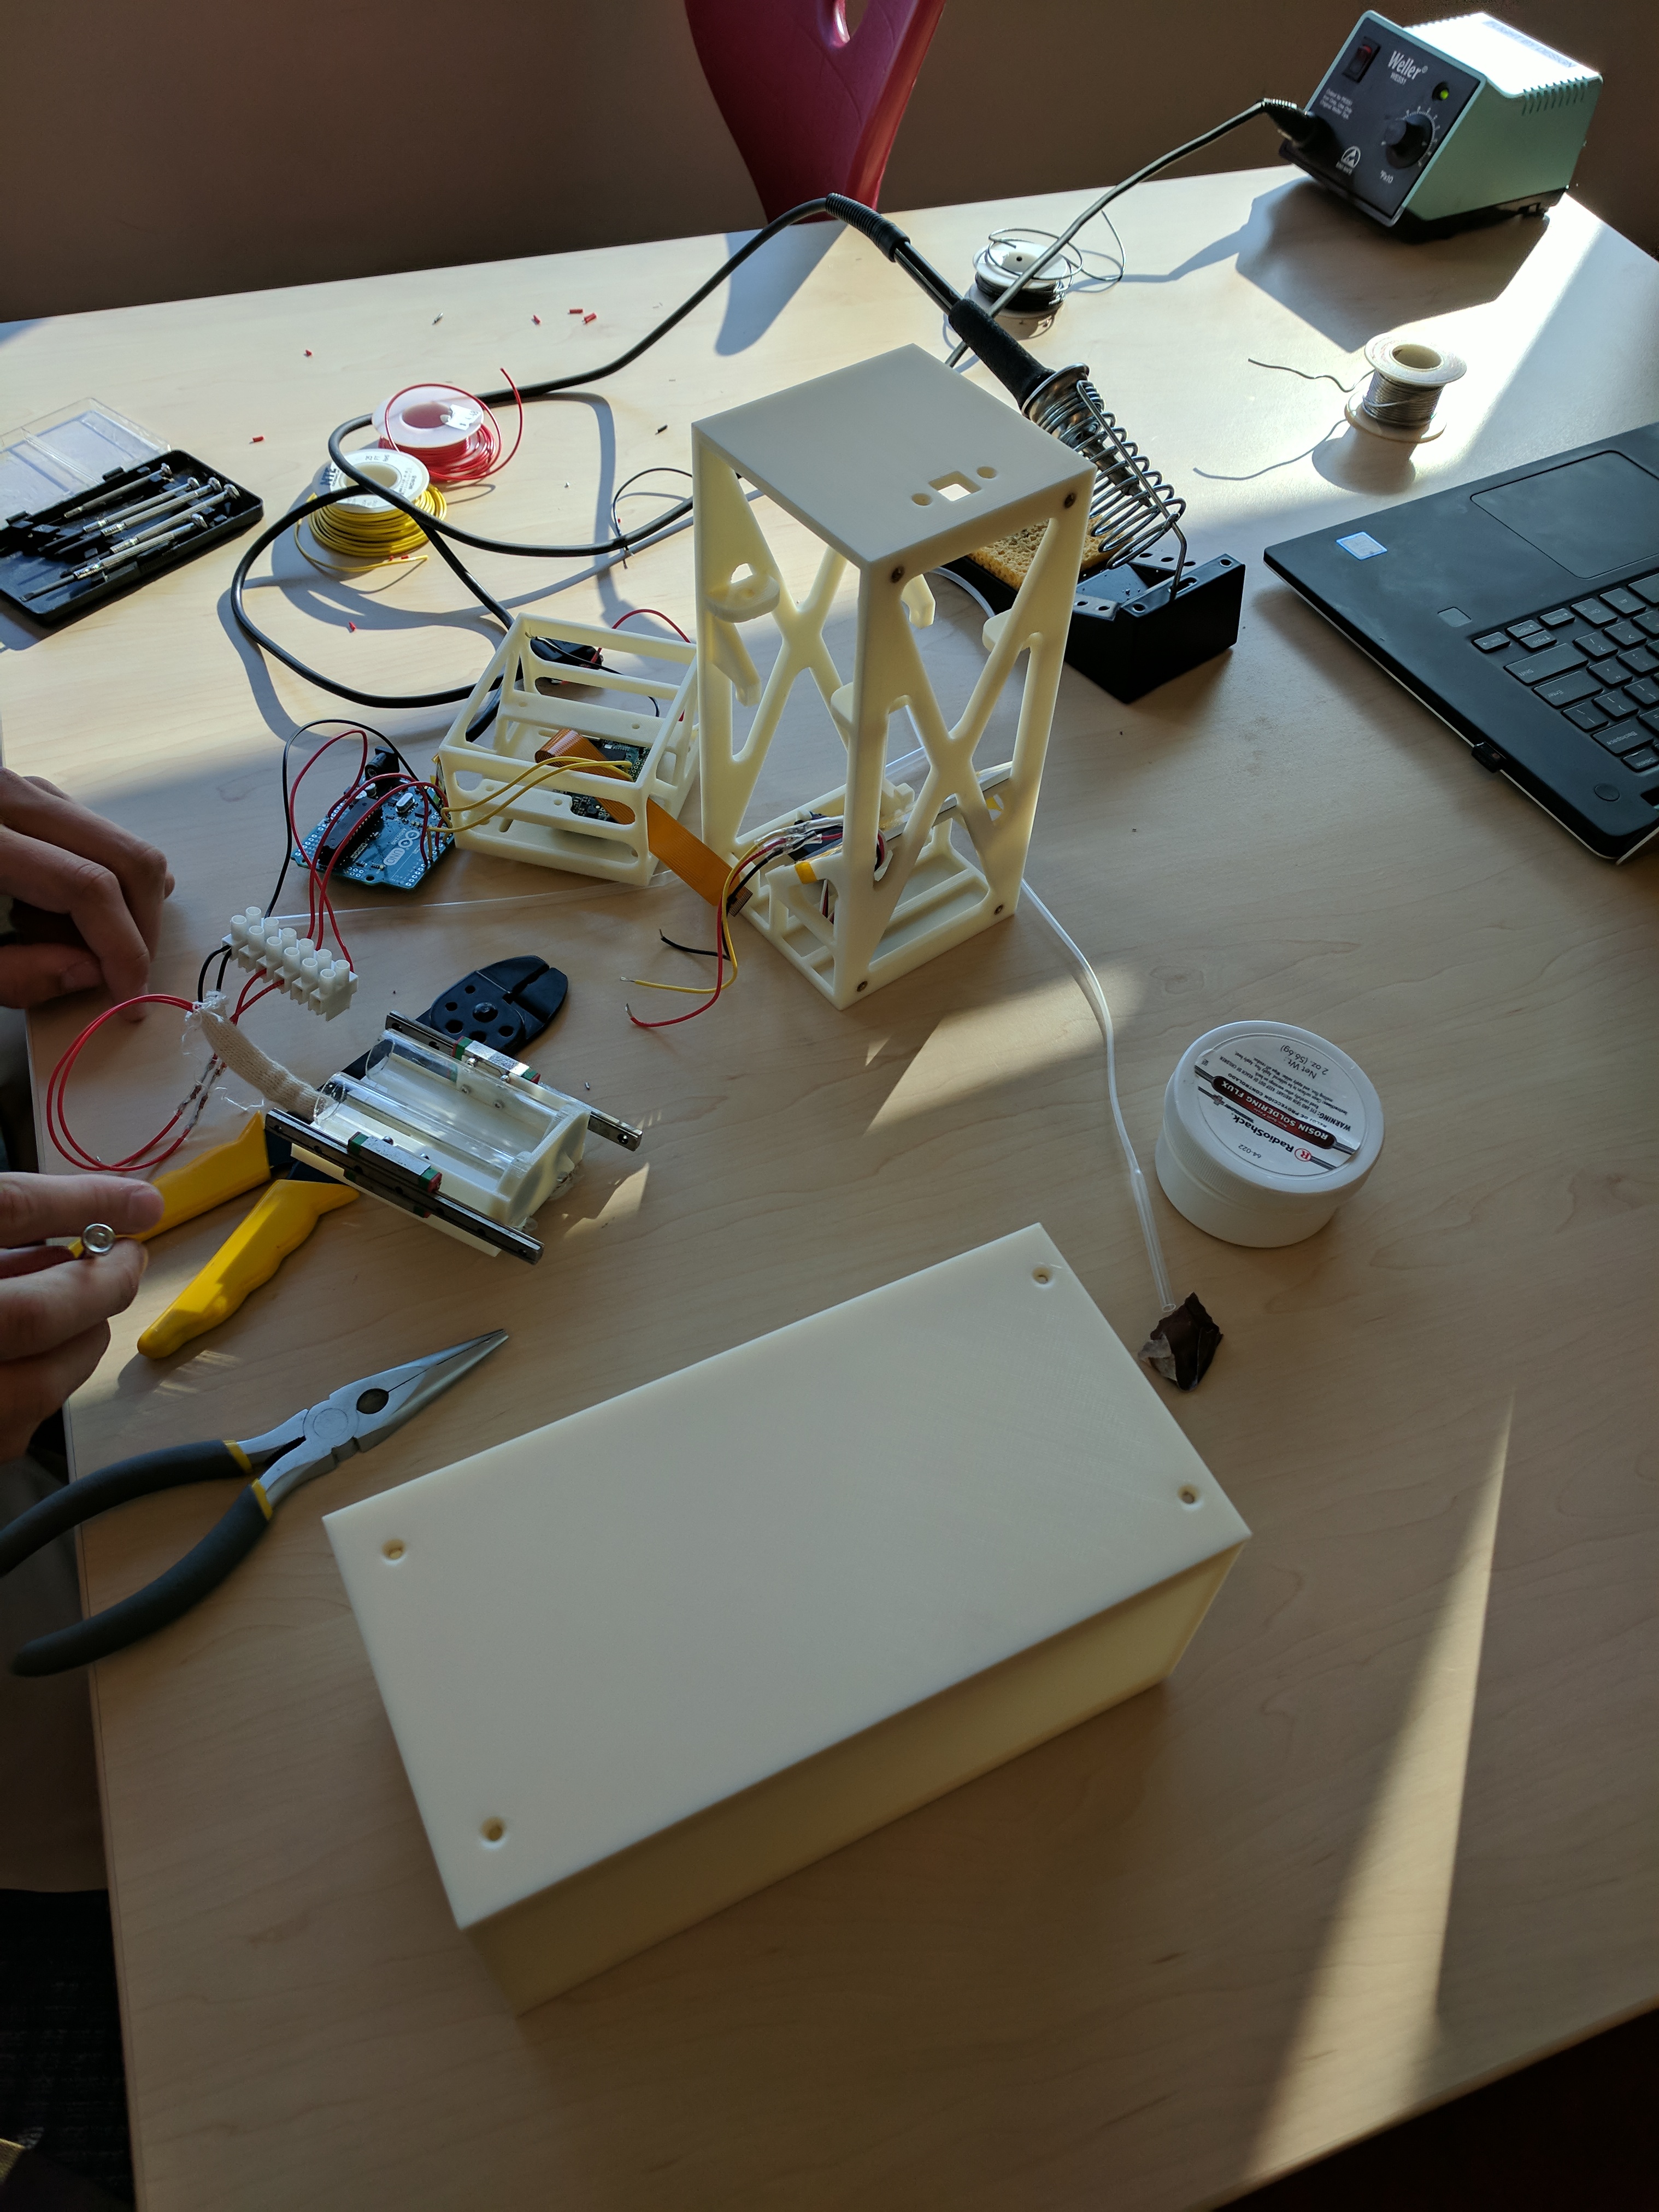
The avionics remained fairly simple, consisting of an Arduino Uno and a Raspberry Pi Zero with a Camera Module. A servo and pushrod was used to shake the fluid holder. Interface with the Crew Capsule utilized a USB type B cable, which connected to the payload computer over a serial connection. Crew Capsule flight states were provided, which were used to trigger the shake cycles, camera, and backlights. Originally, we wanted to capture all flight data on an SD card, but this feature was removed due to time constraints. Instead, we opted to receive pertinent data from Blue Origin after the flight.
Final Assembly and Shipping
A couple of weeks before the ship date, we began running hardware in the loop simulation tests. This proved everything was in working order and all events were triggering at the correct time.
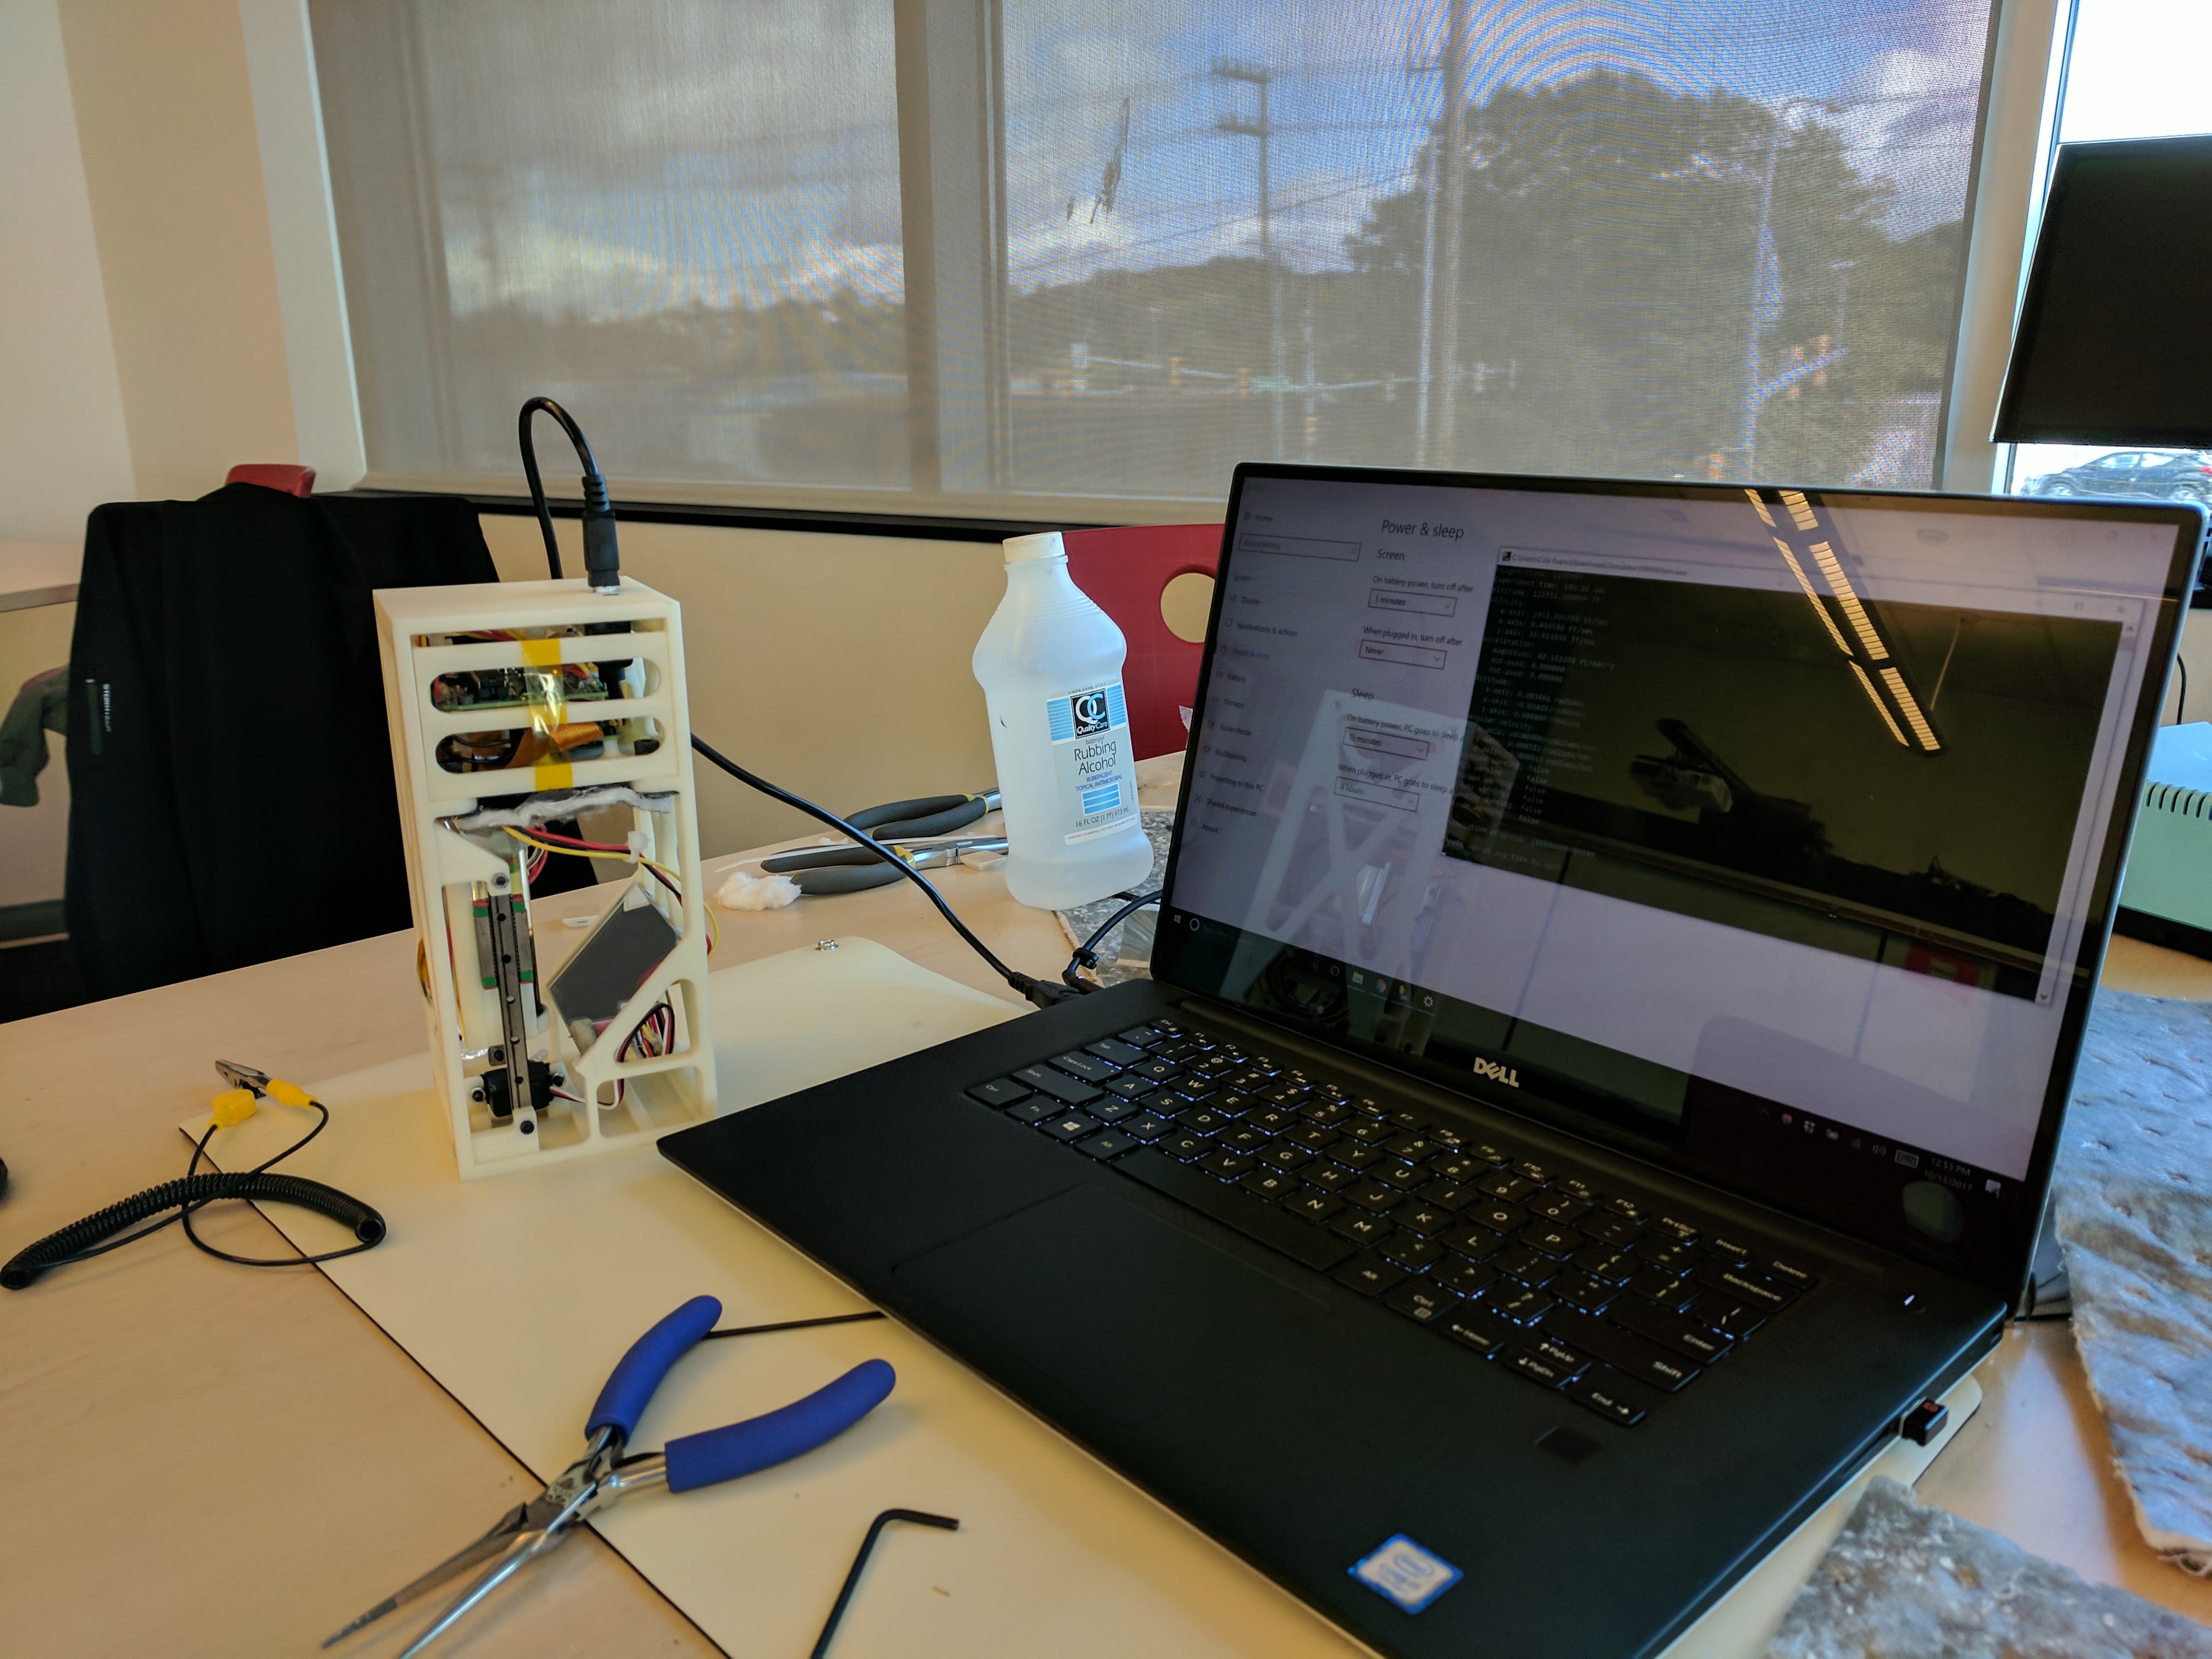
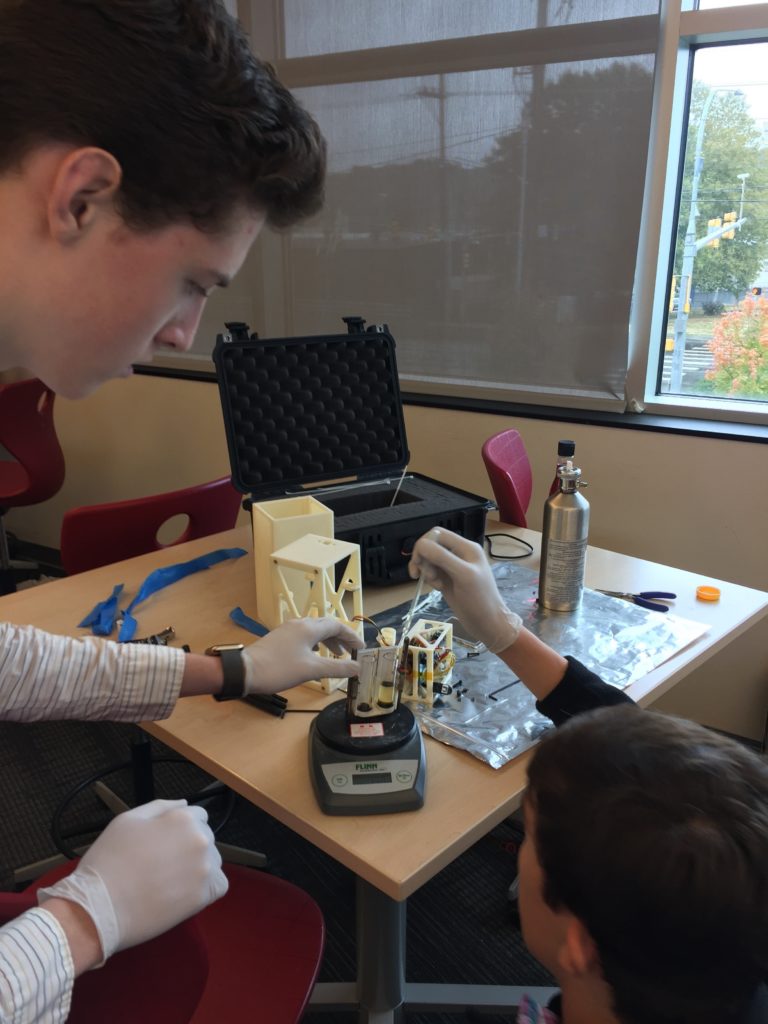
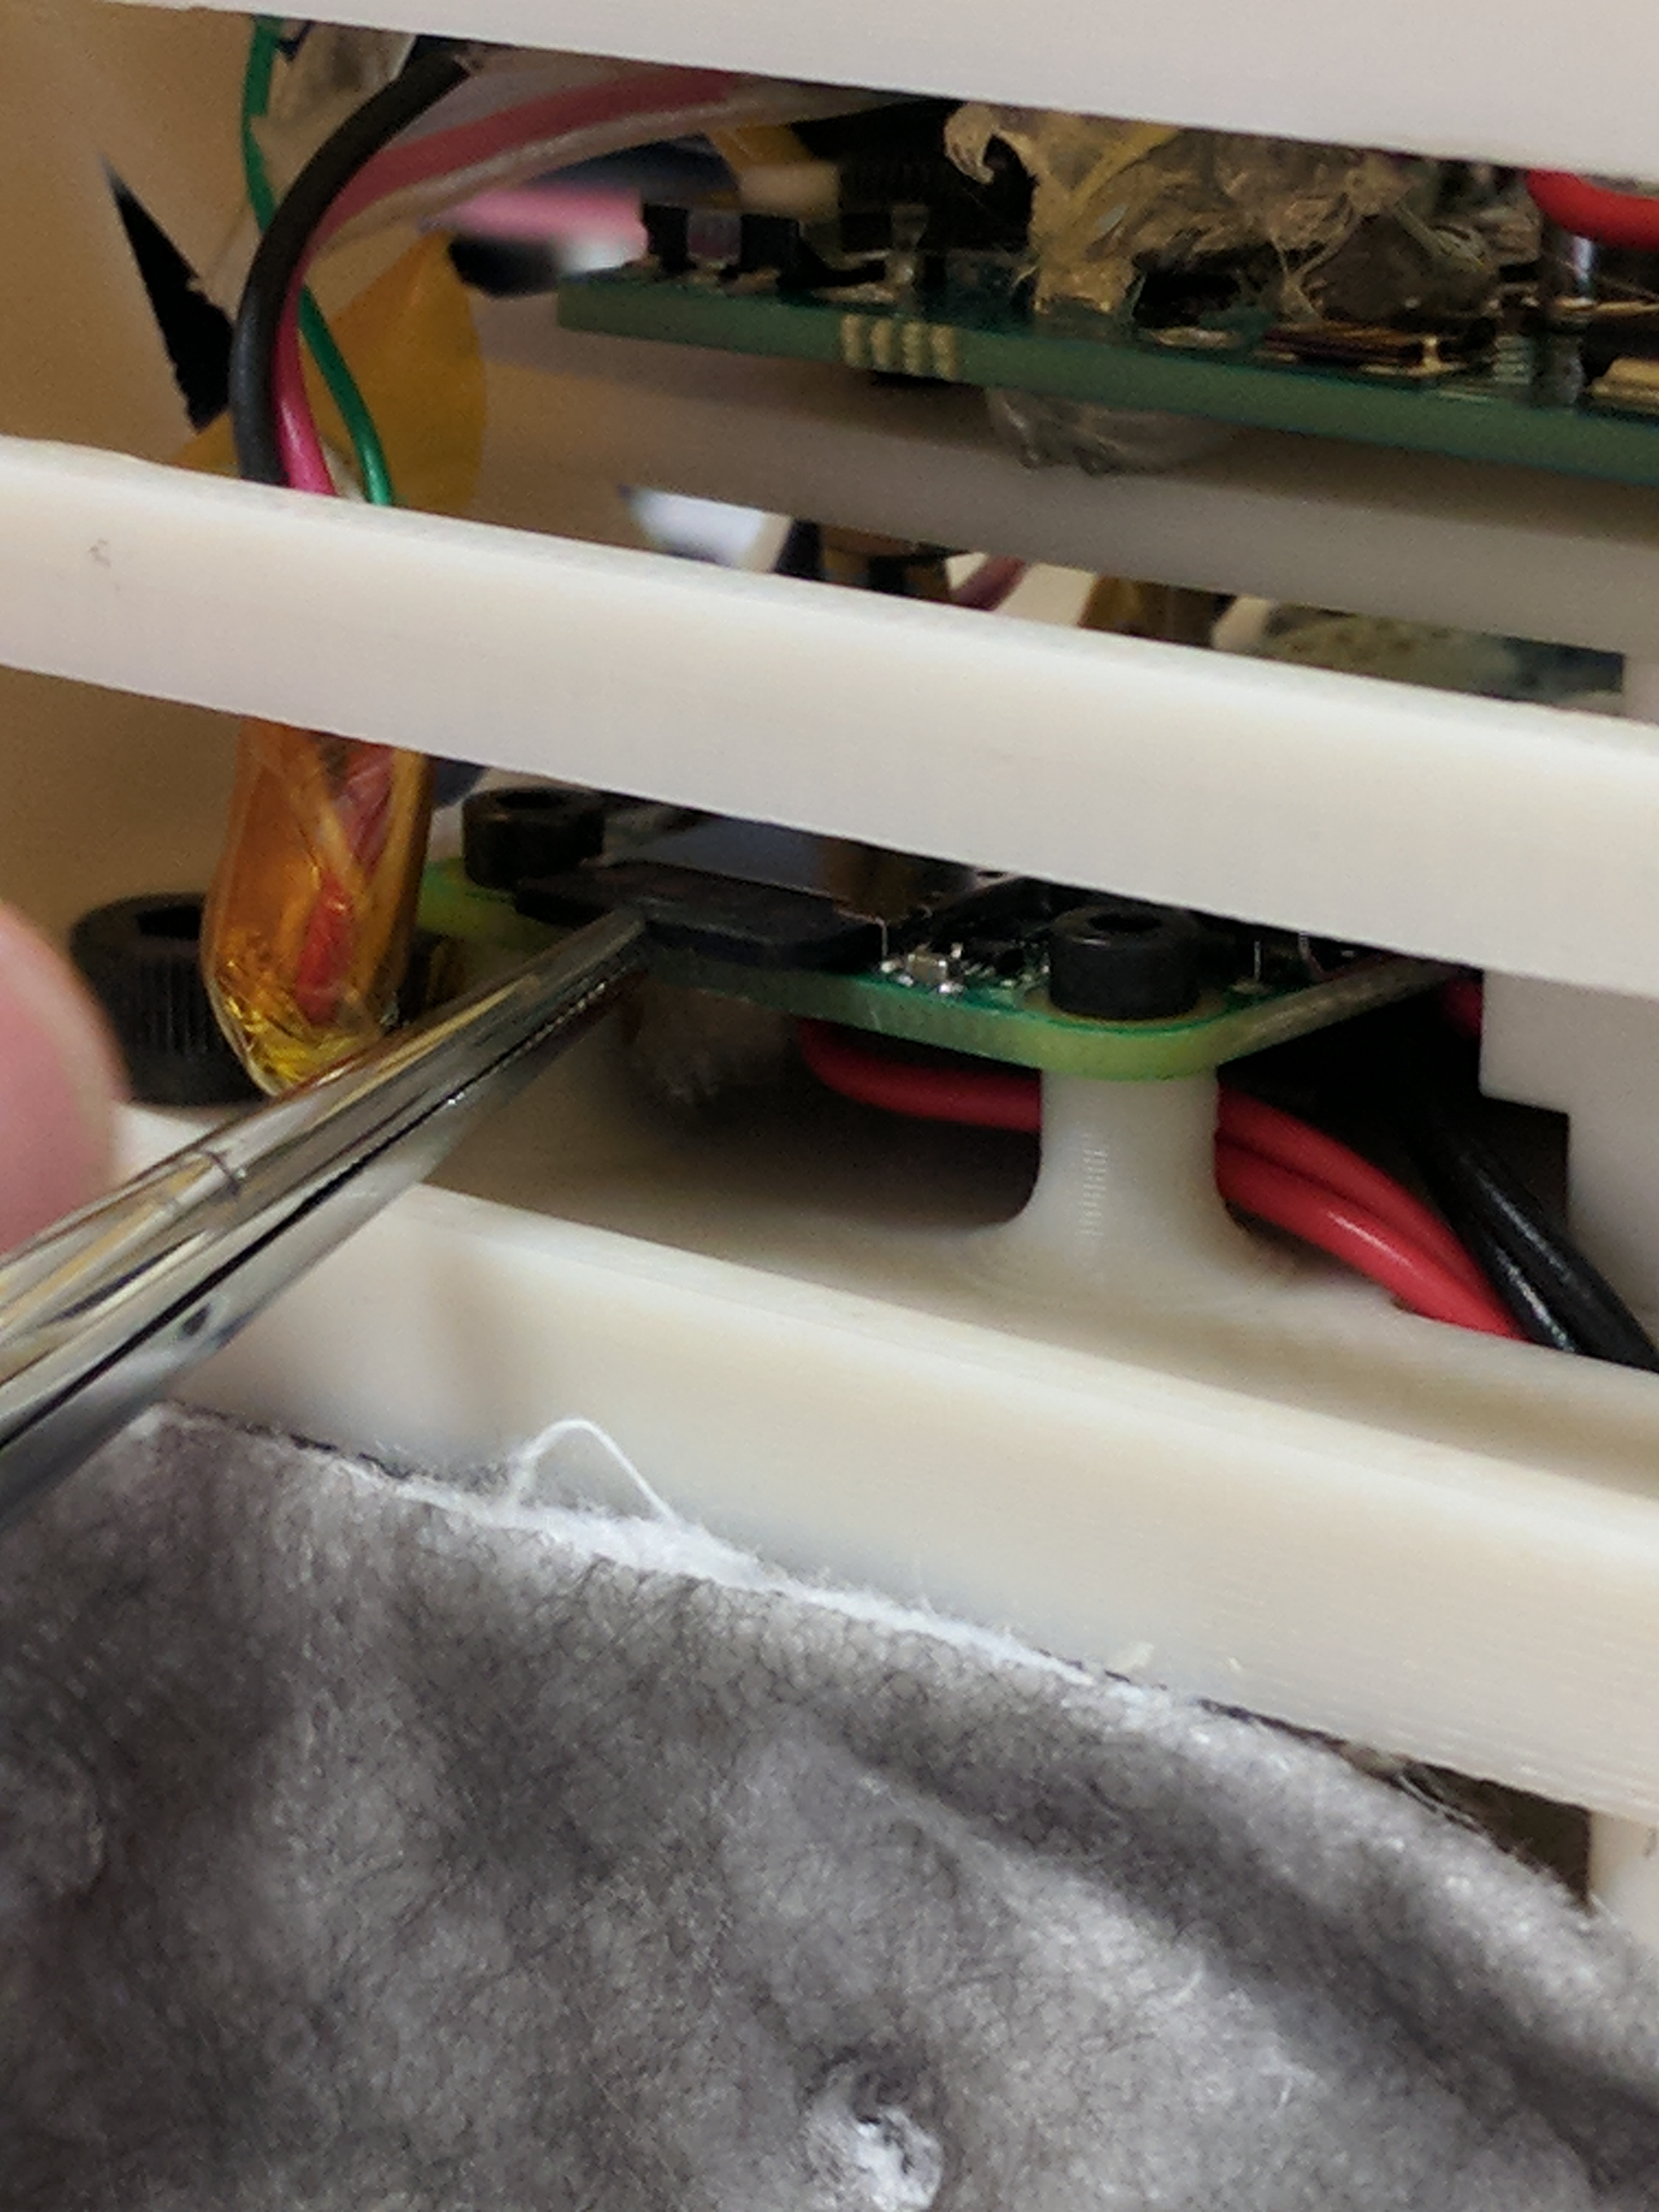
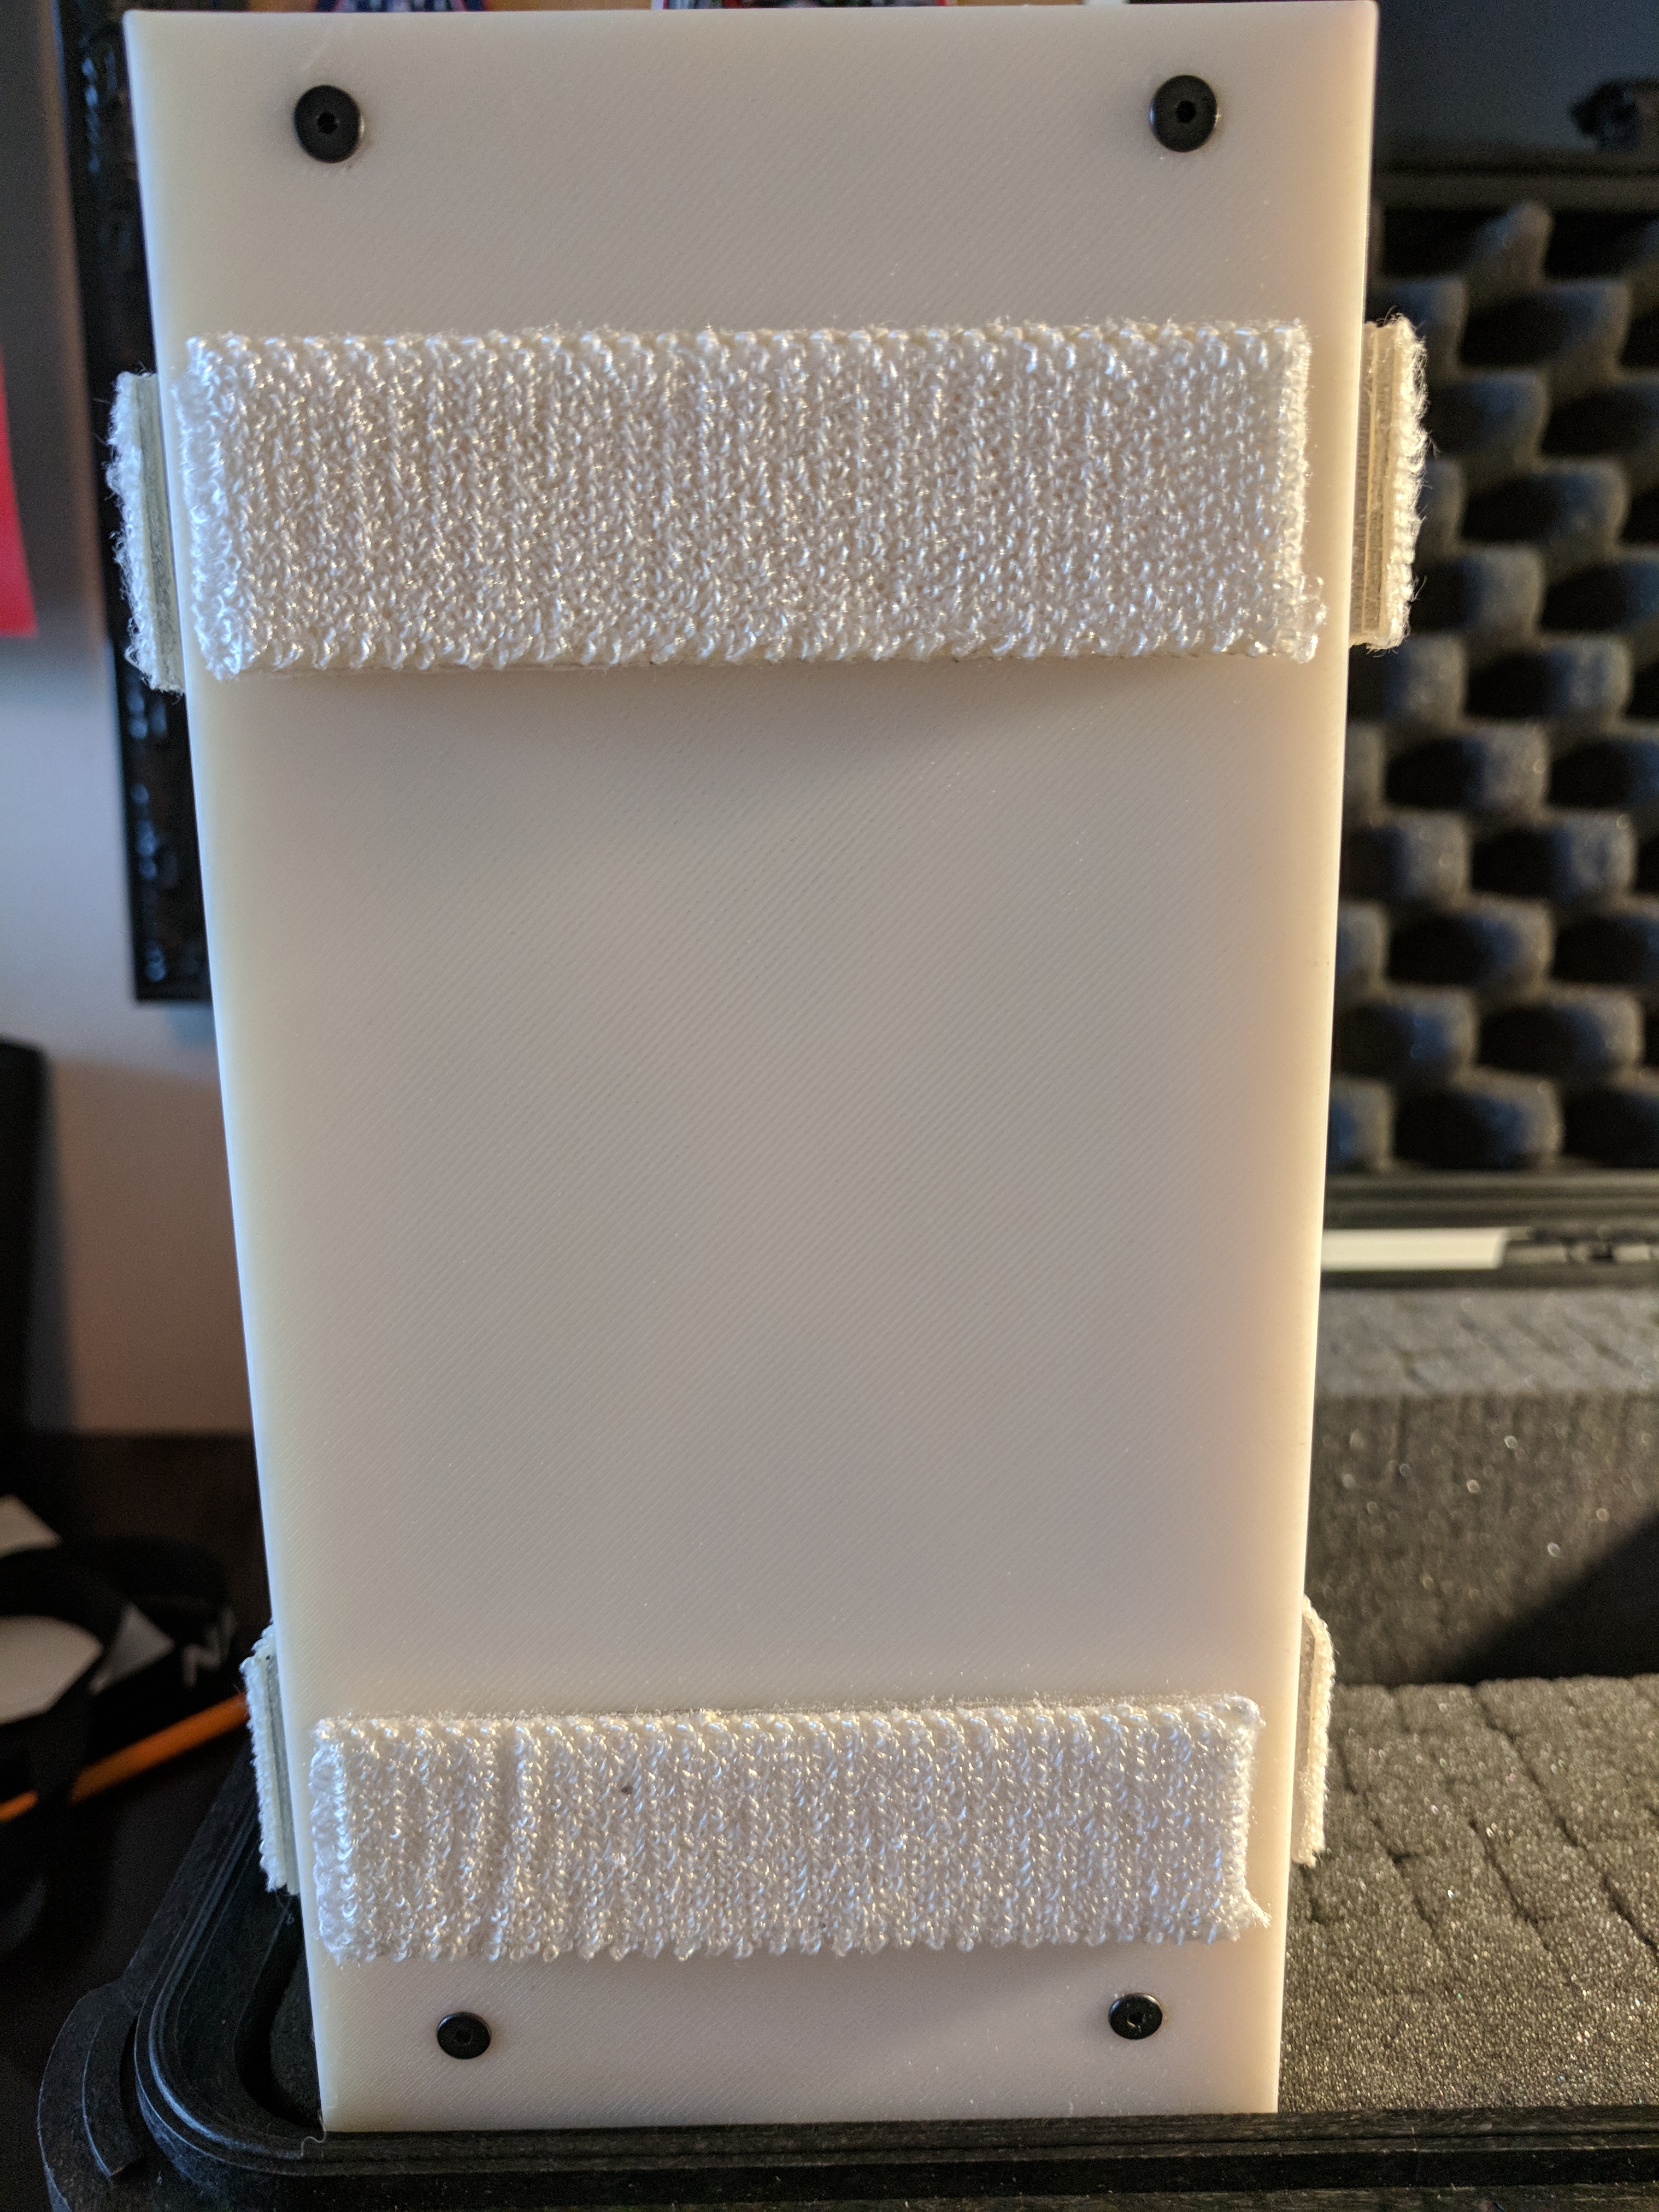
A change requested by the Nanoracks, our payload integrator, was to add absorbent material inside the payload to prevent a leak from damaging nearby experiments. I ended up velcroing the material, known as Pigmat, along the inside of the payload to meet this requirement.
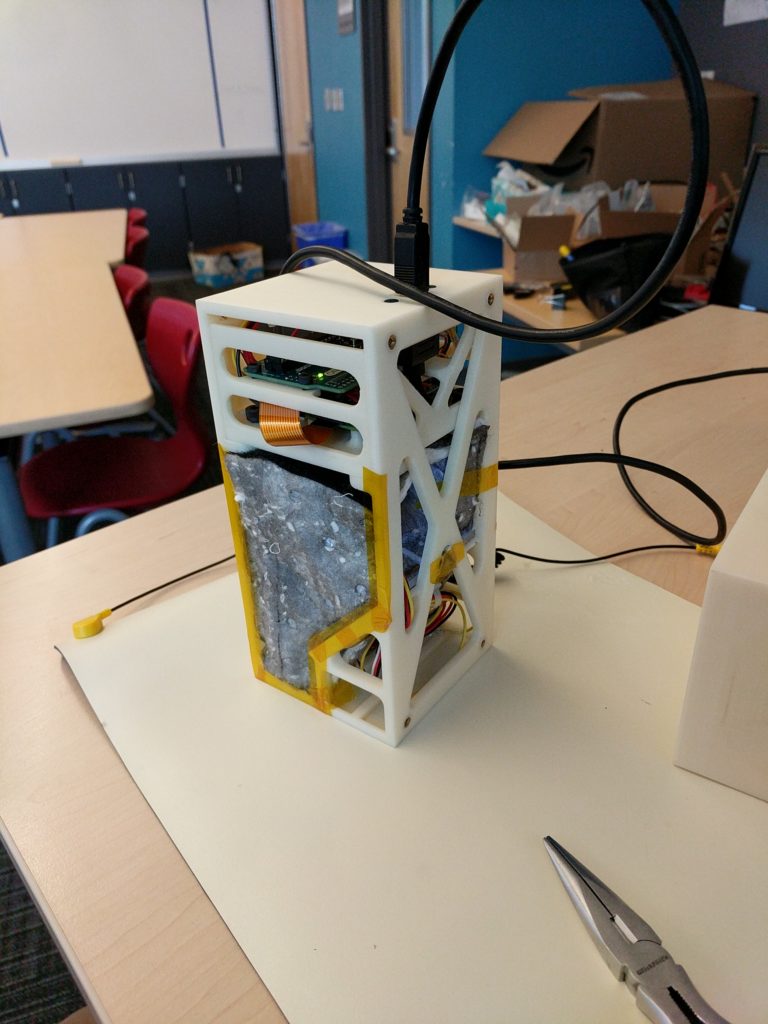
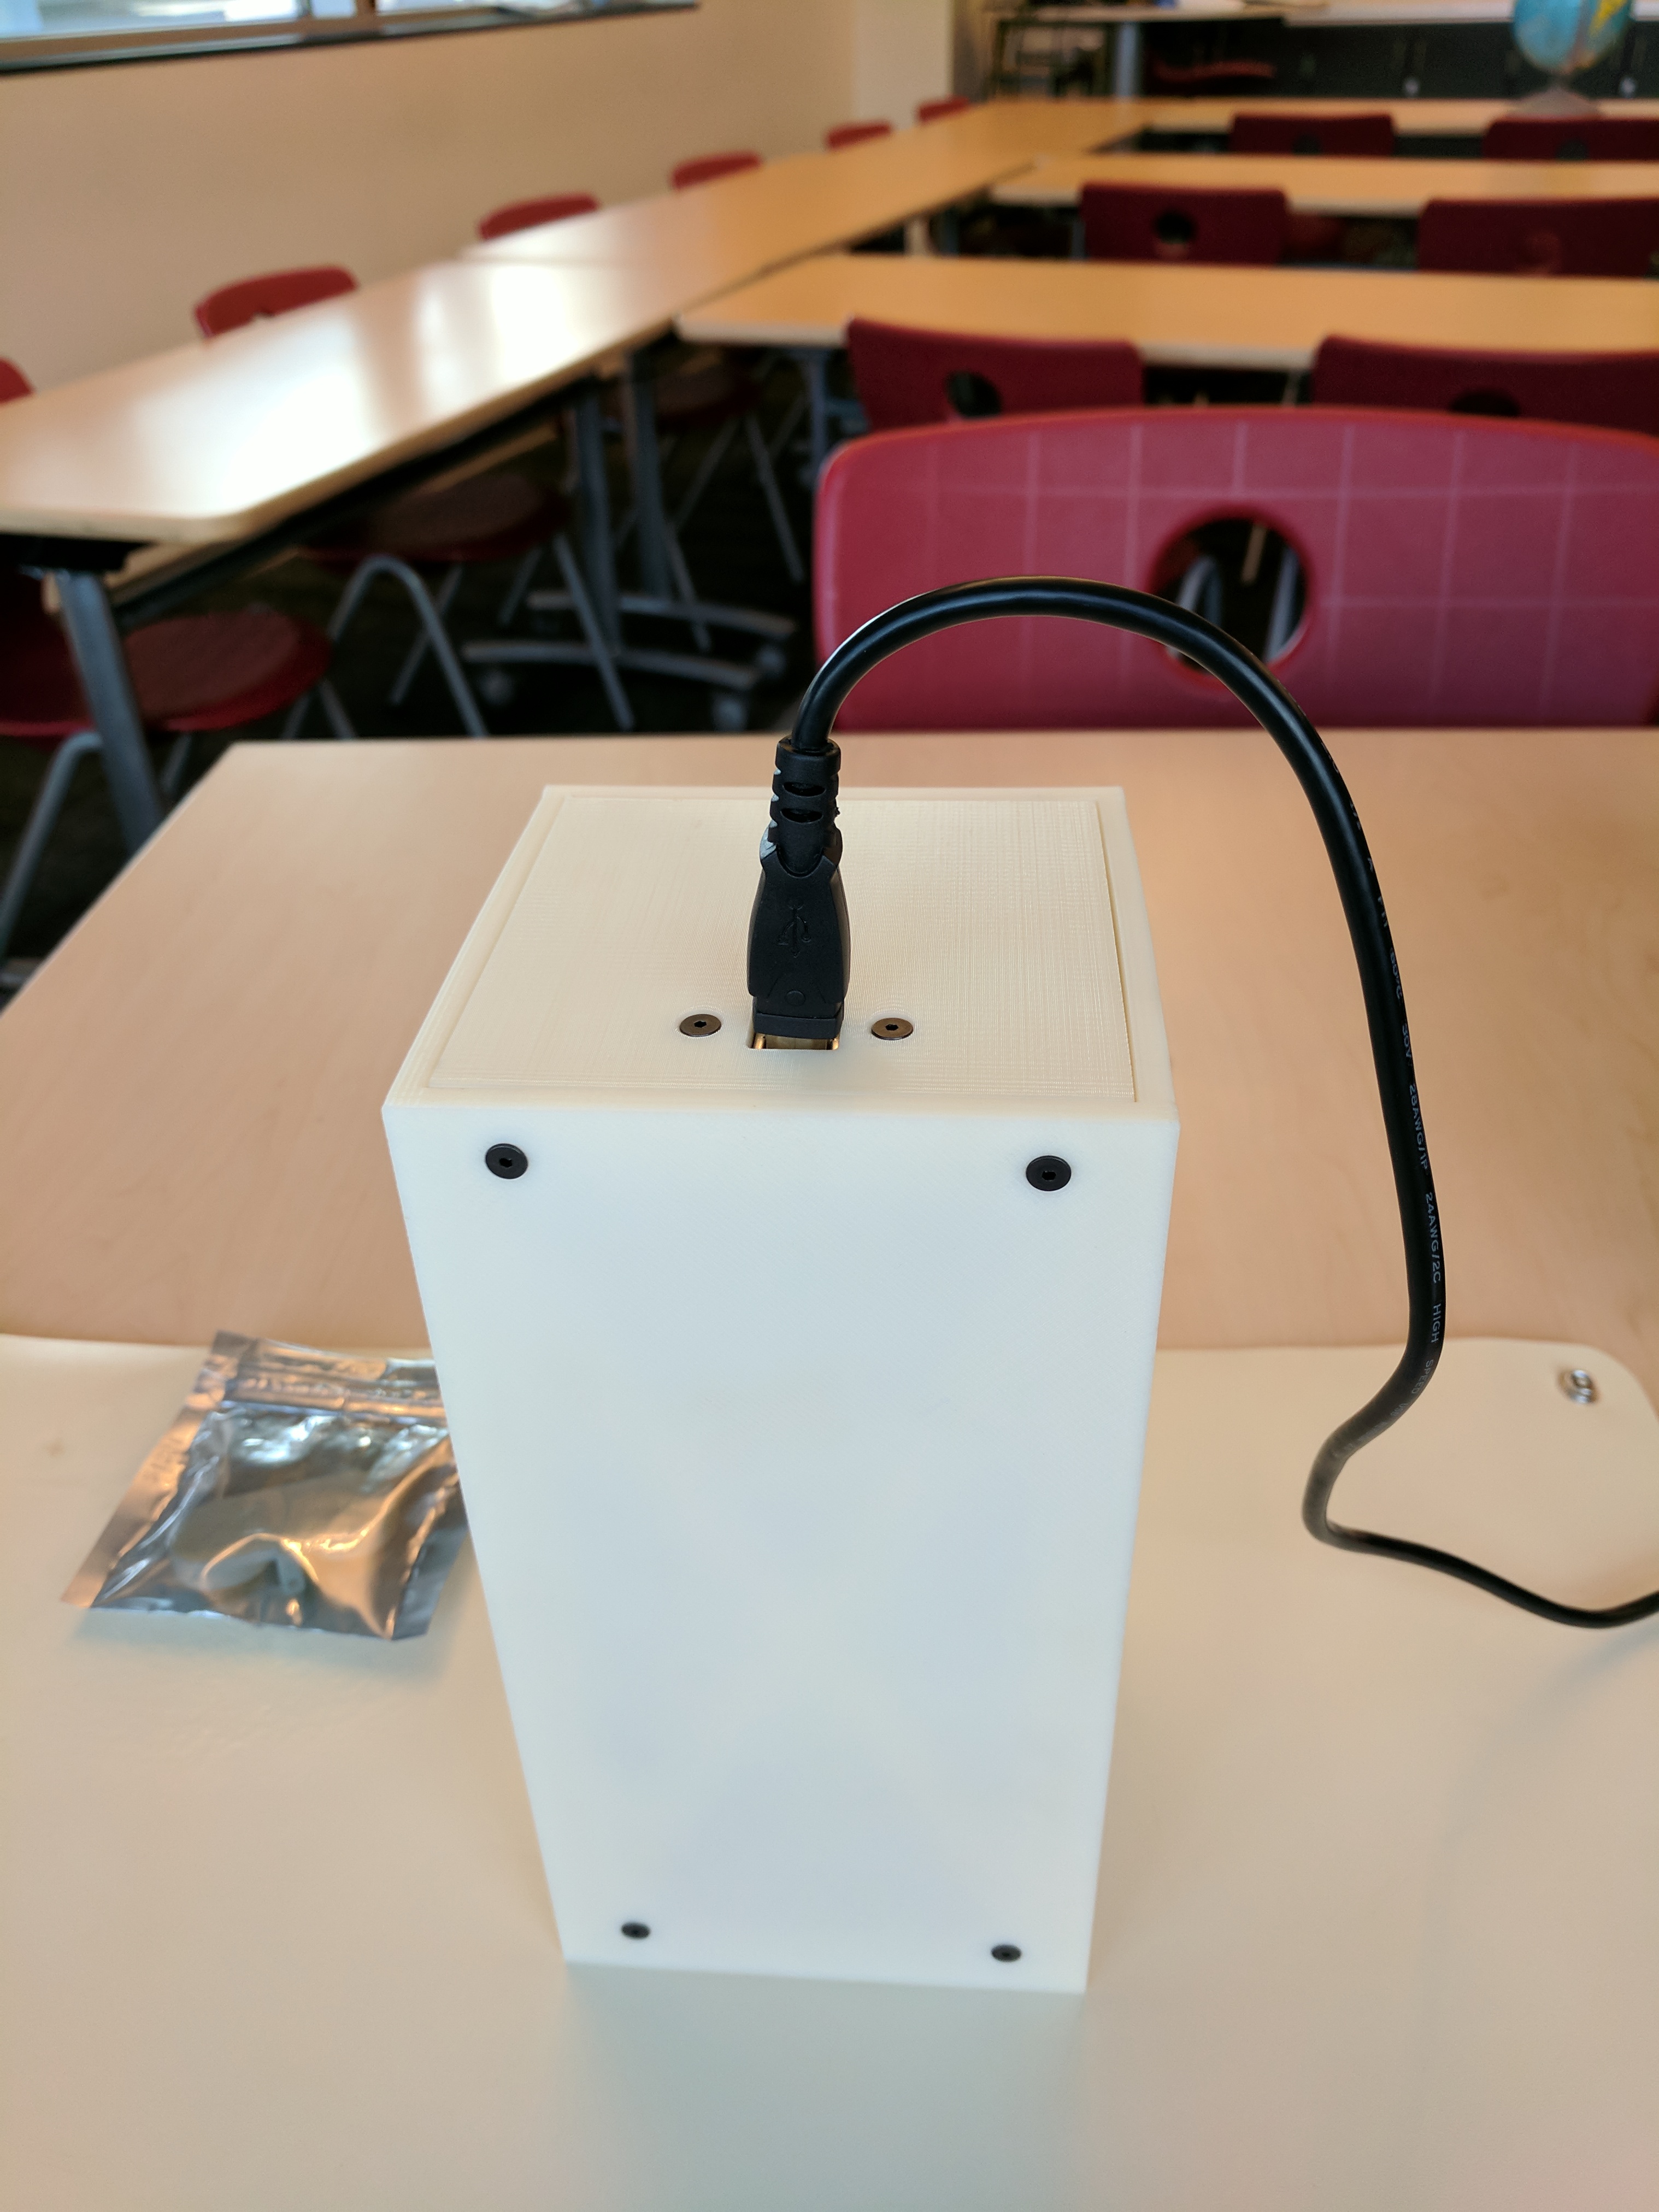
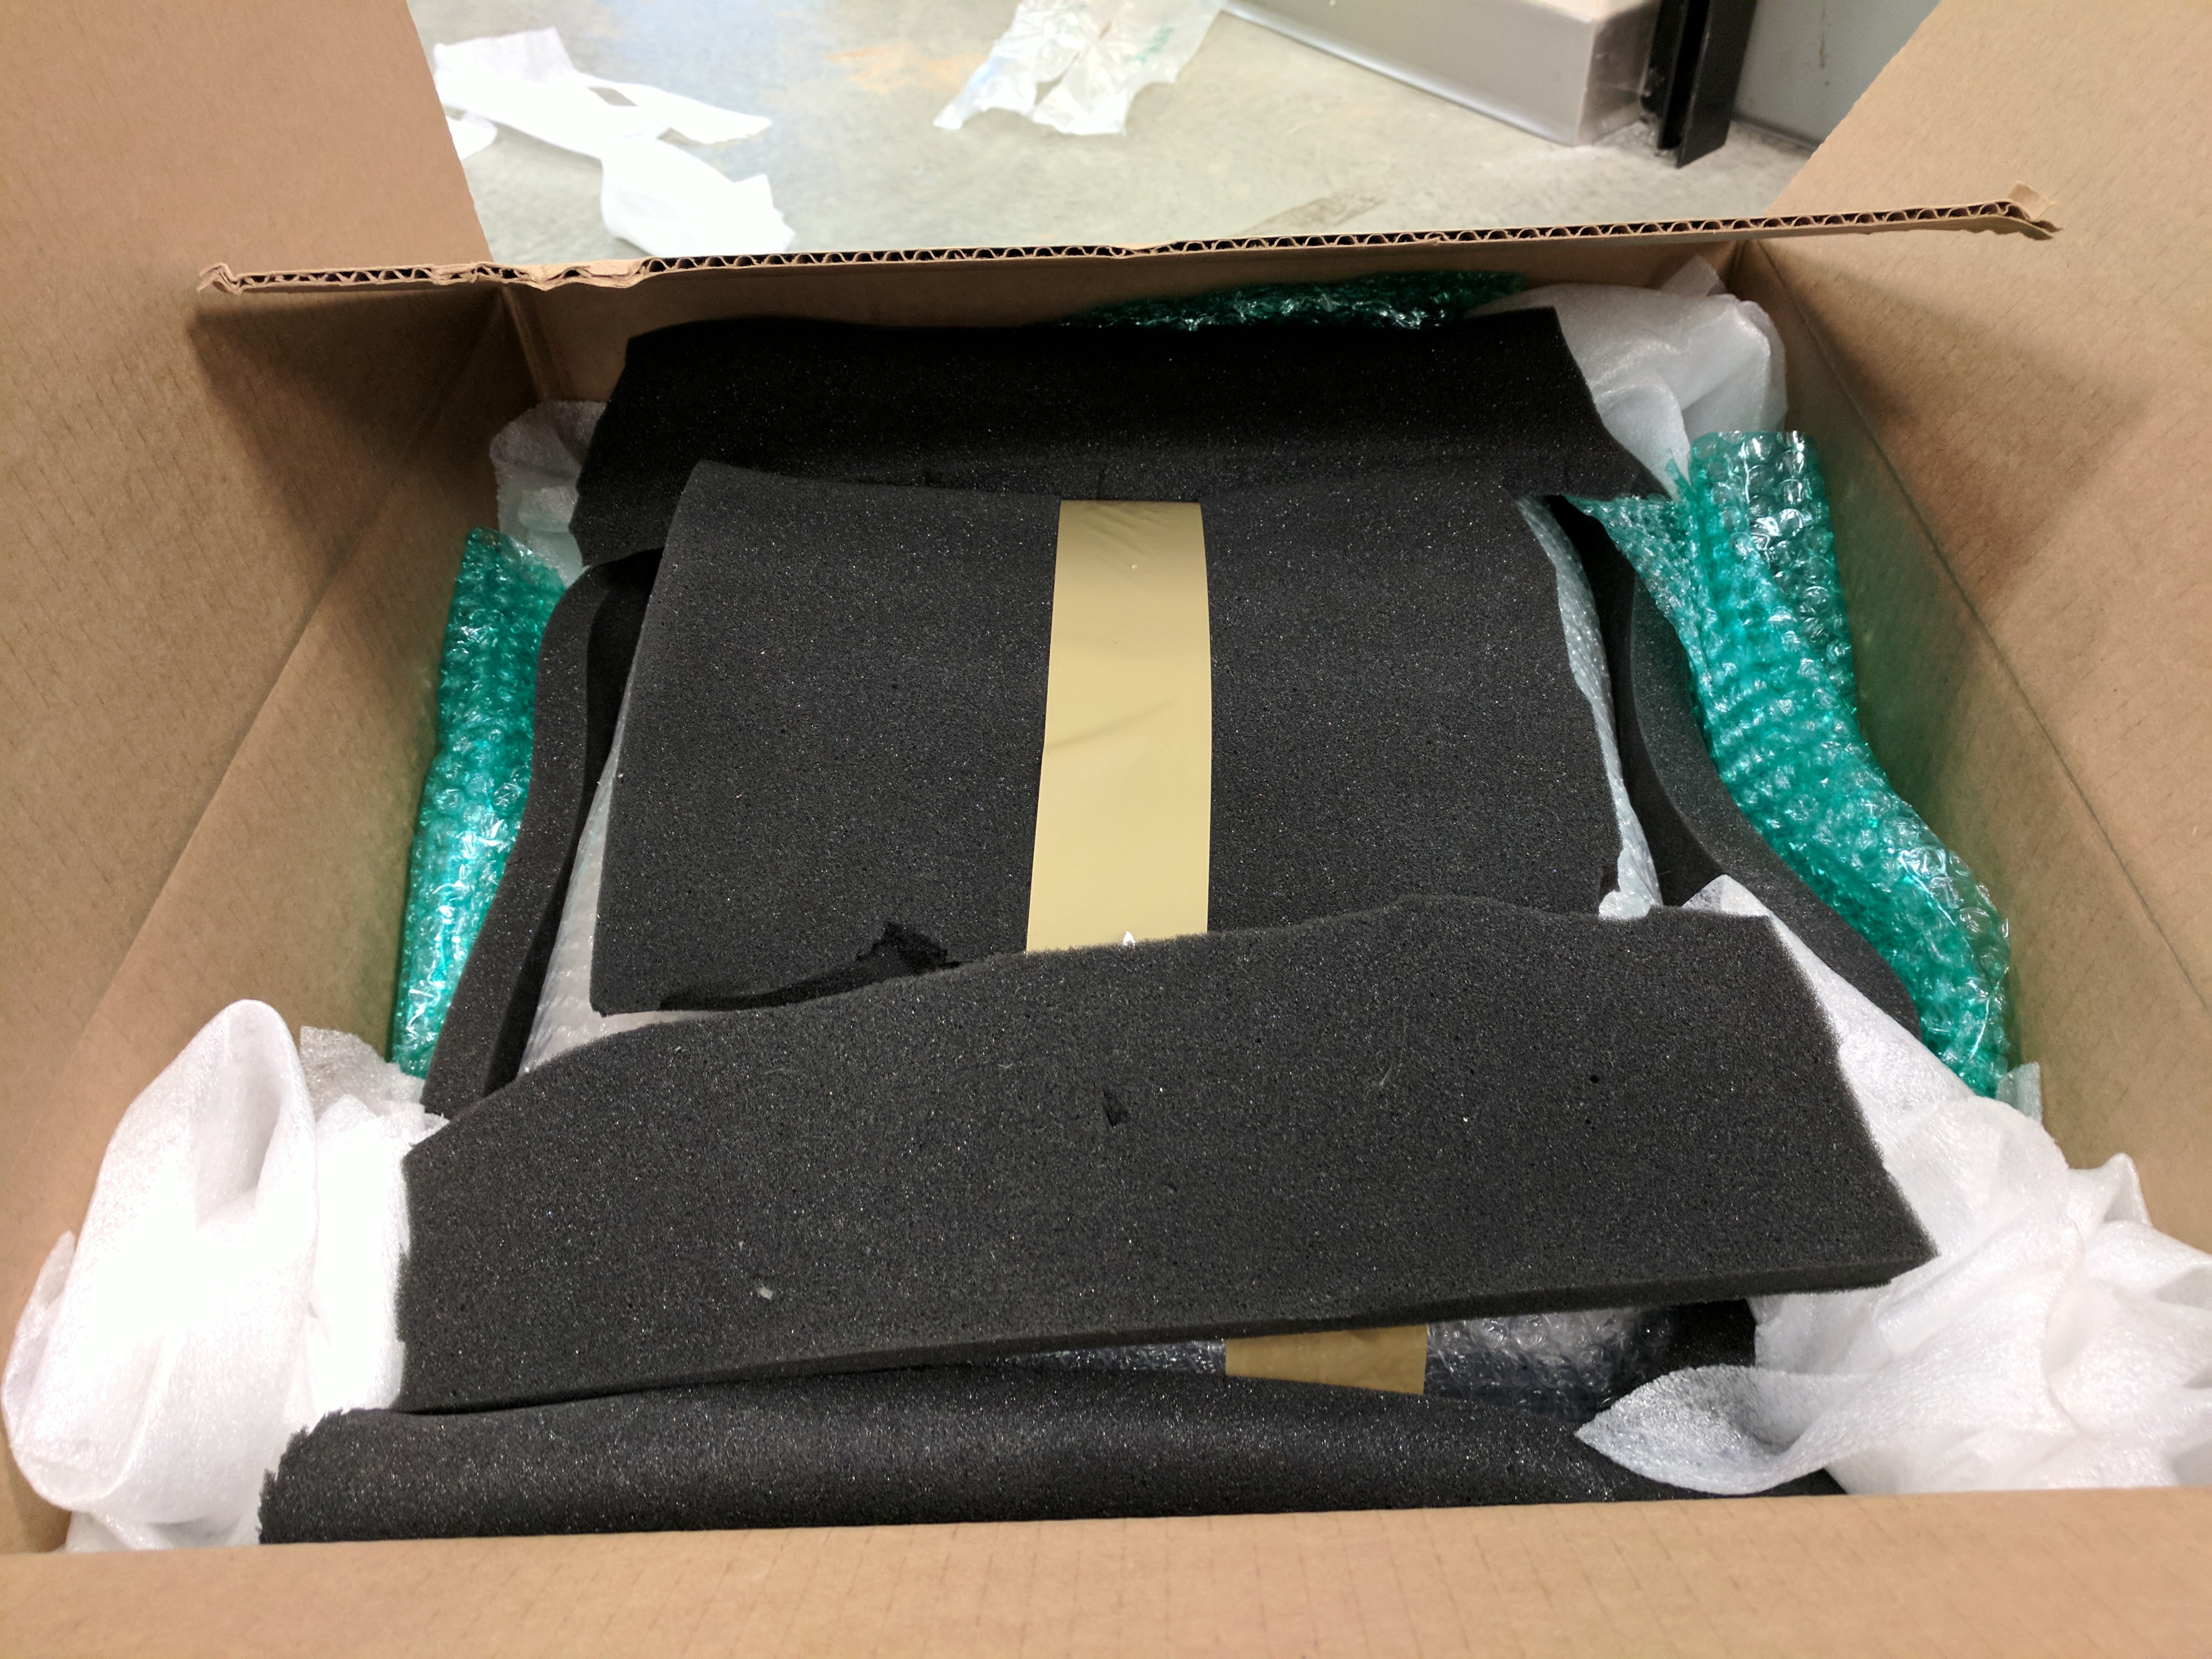
After passing all the tests, it was ready to ship to west Texas! We carefully installed the SD card, attached the outer shell, and bubble-wrapped the pelican case for the overnight trek across the country.
The Flight
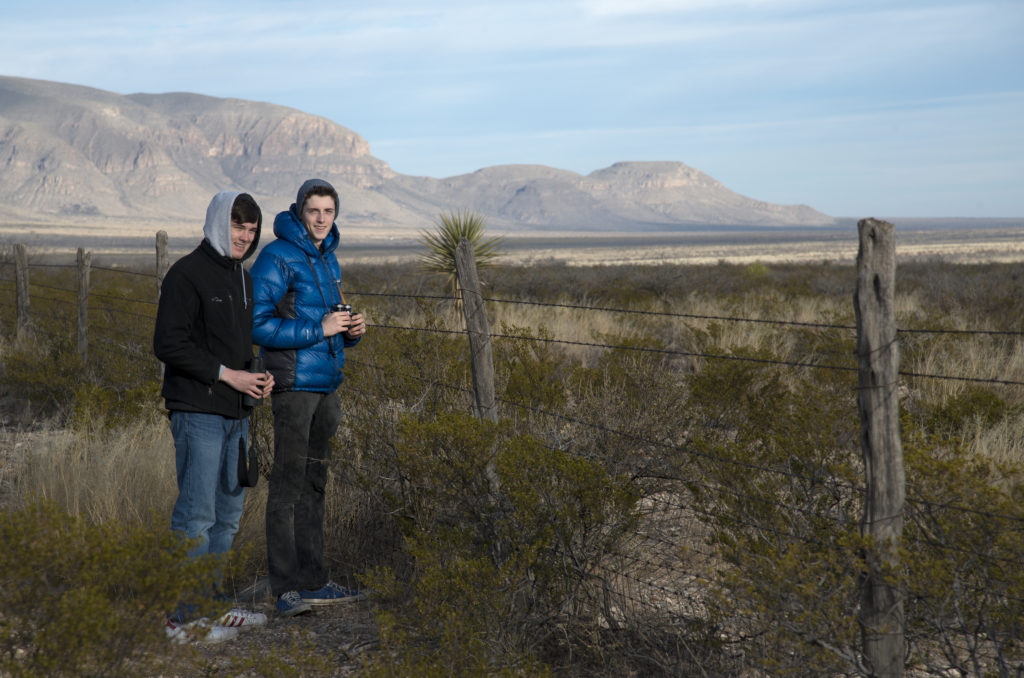
A couple of months later, it was launch day! We flew down to Texas to watch the launch. Along with visiting the launch site, we also took a detour to the breathtaking Carlsbad Caverns.
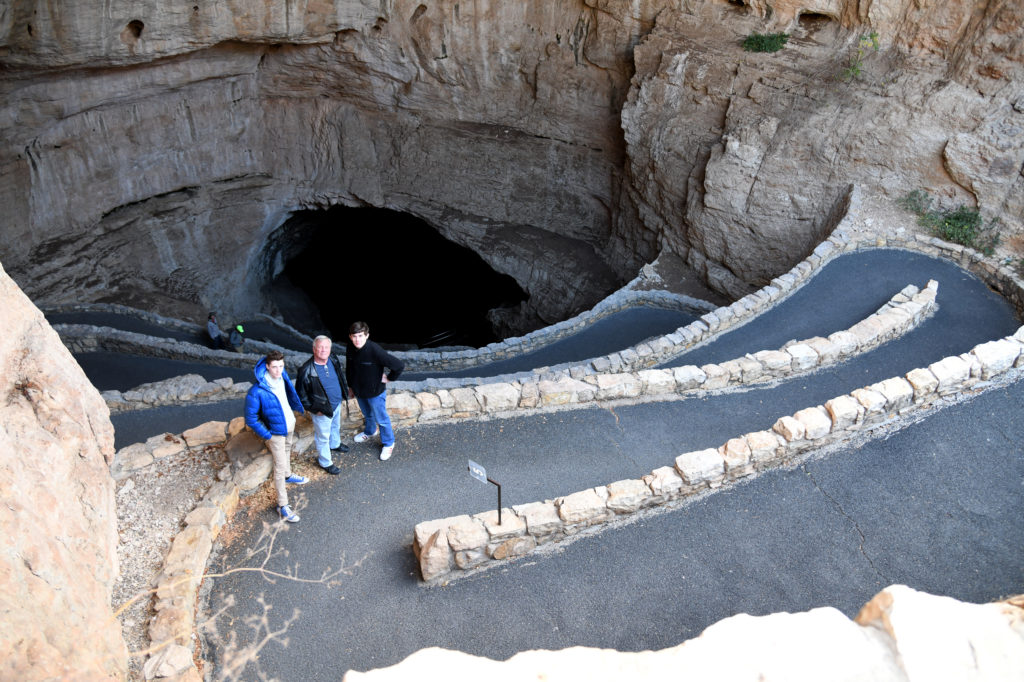
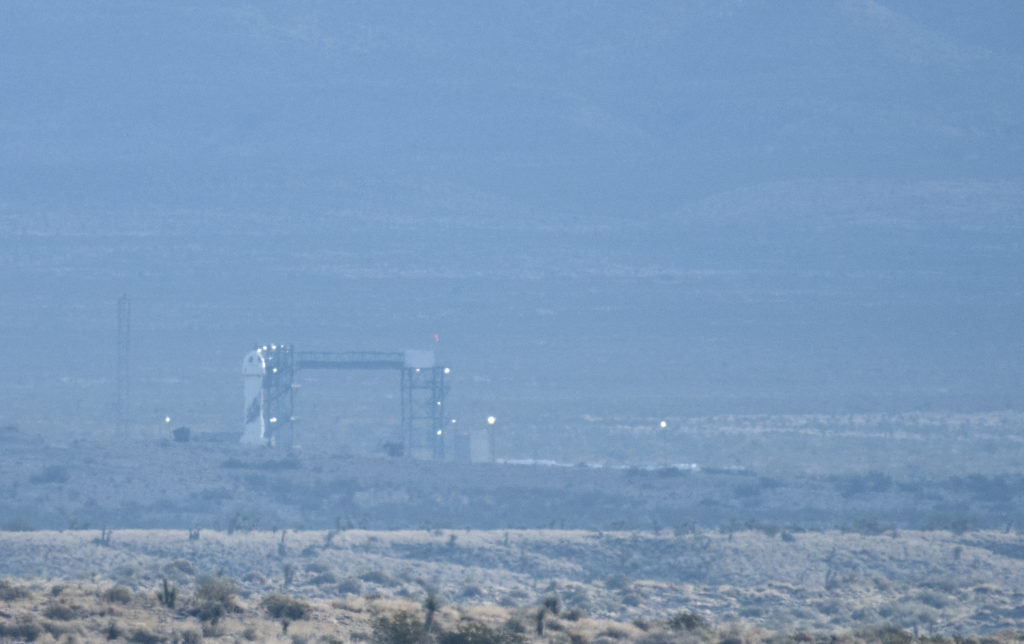
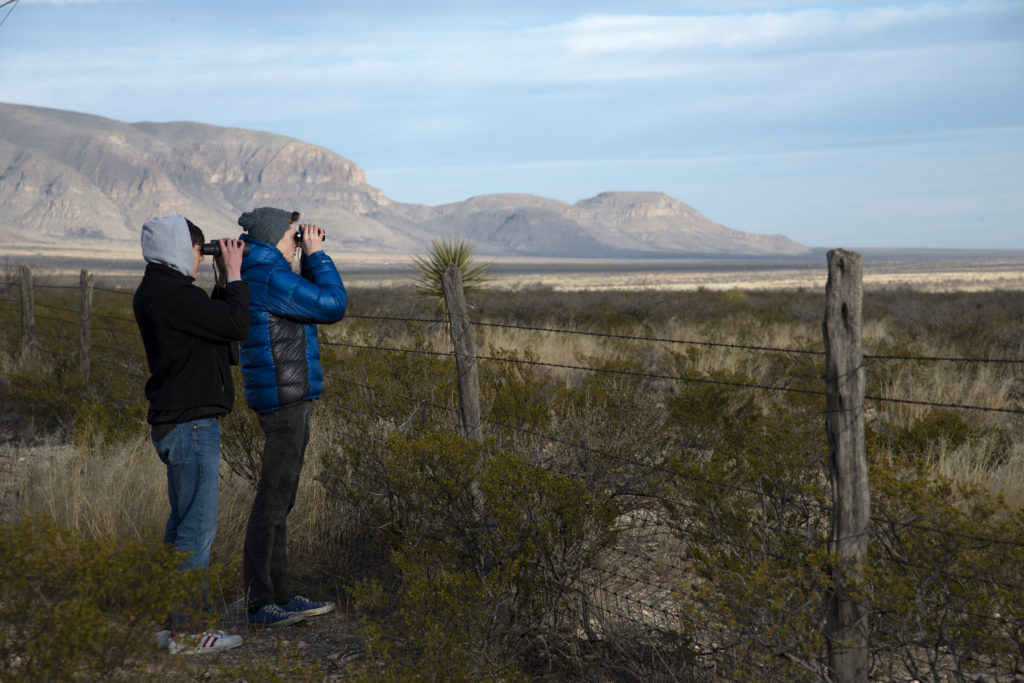
Unfortunately, the launch was scrubbed and we had tickets booked back to Seattle the same day. It was a shame to miss the launch, especially considering it flew the next day! Regardless, it was an incredible trip.
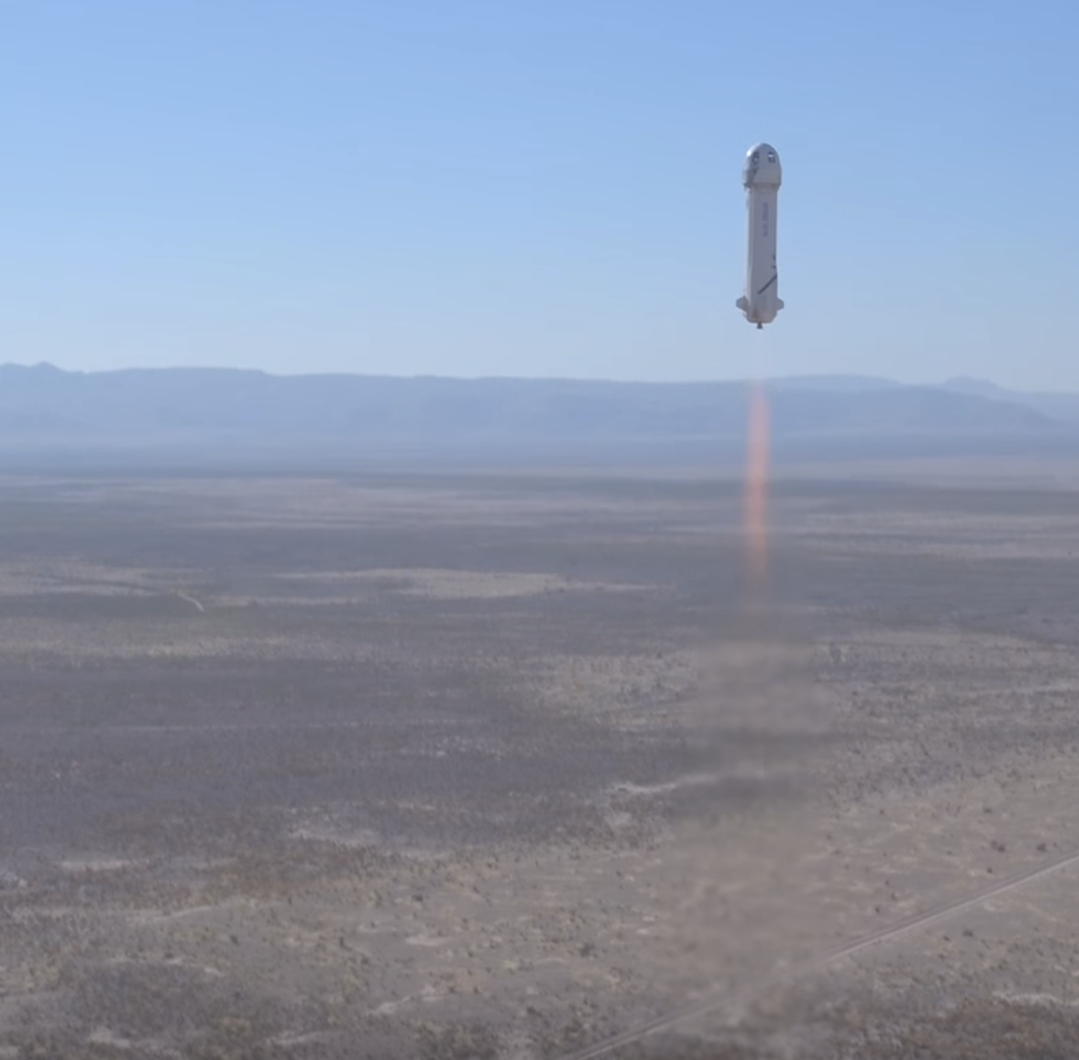
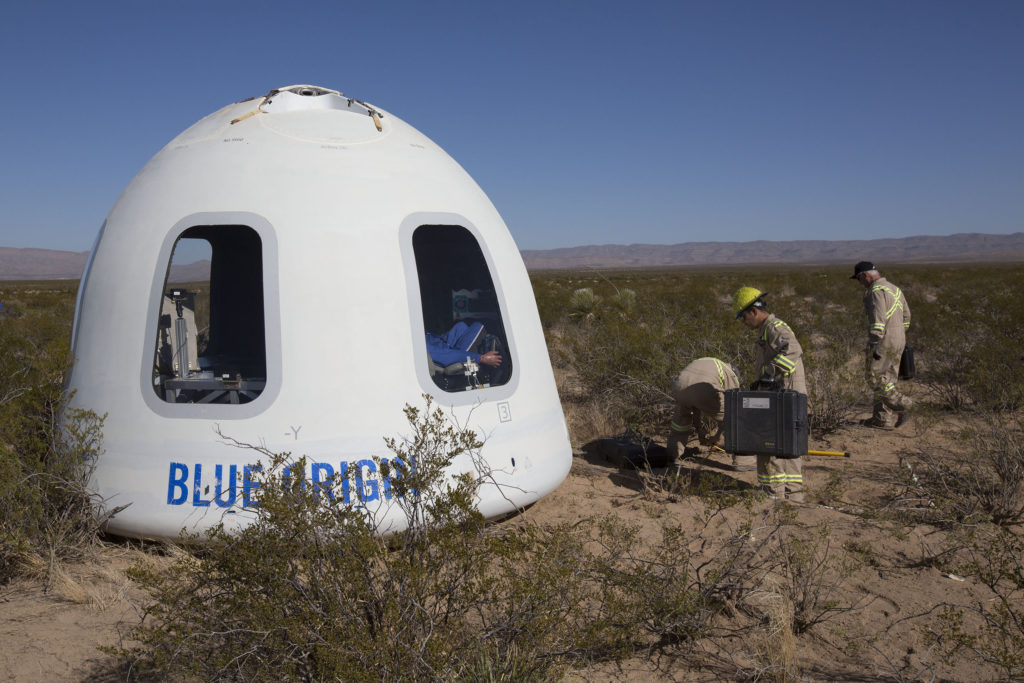
On December 12th, 2017 RainierOne was successfully launched! We anxiously awaited the payload’s return, arriving about a week after the launch.
Results
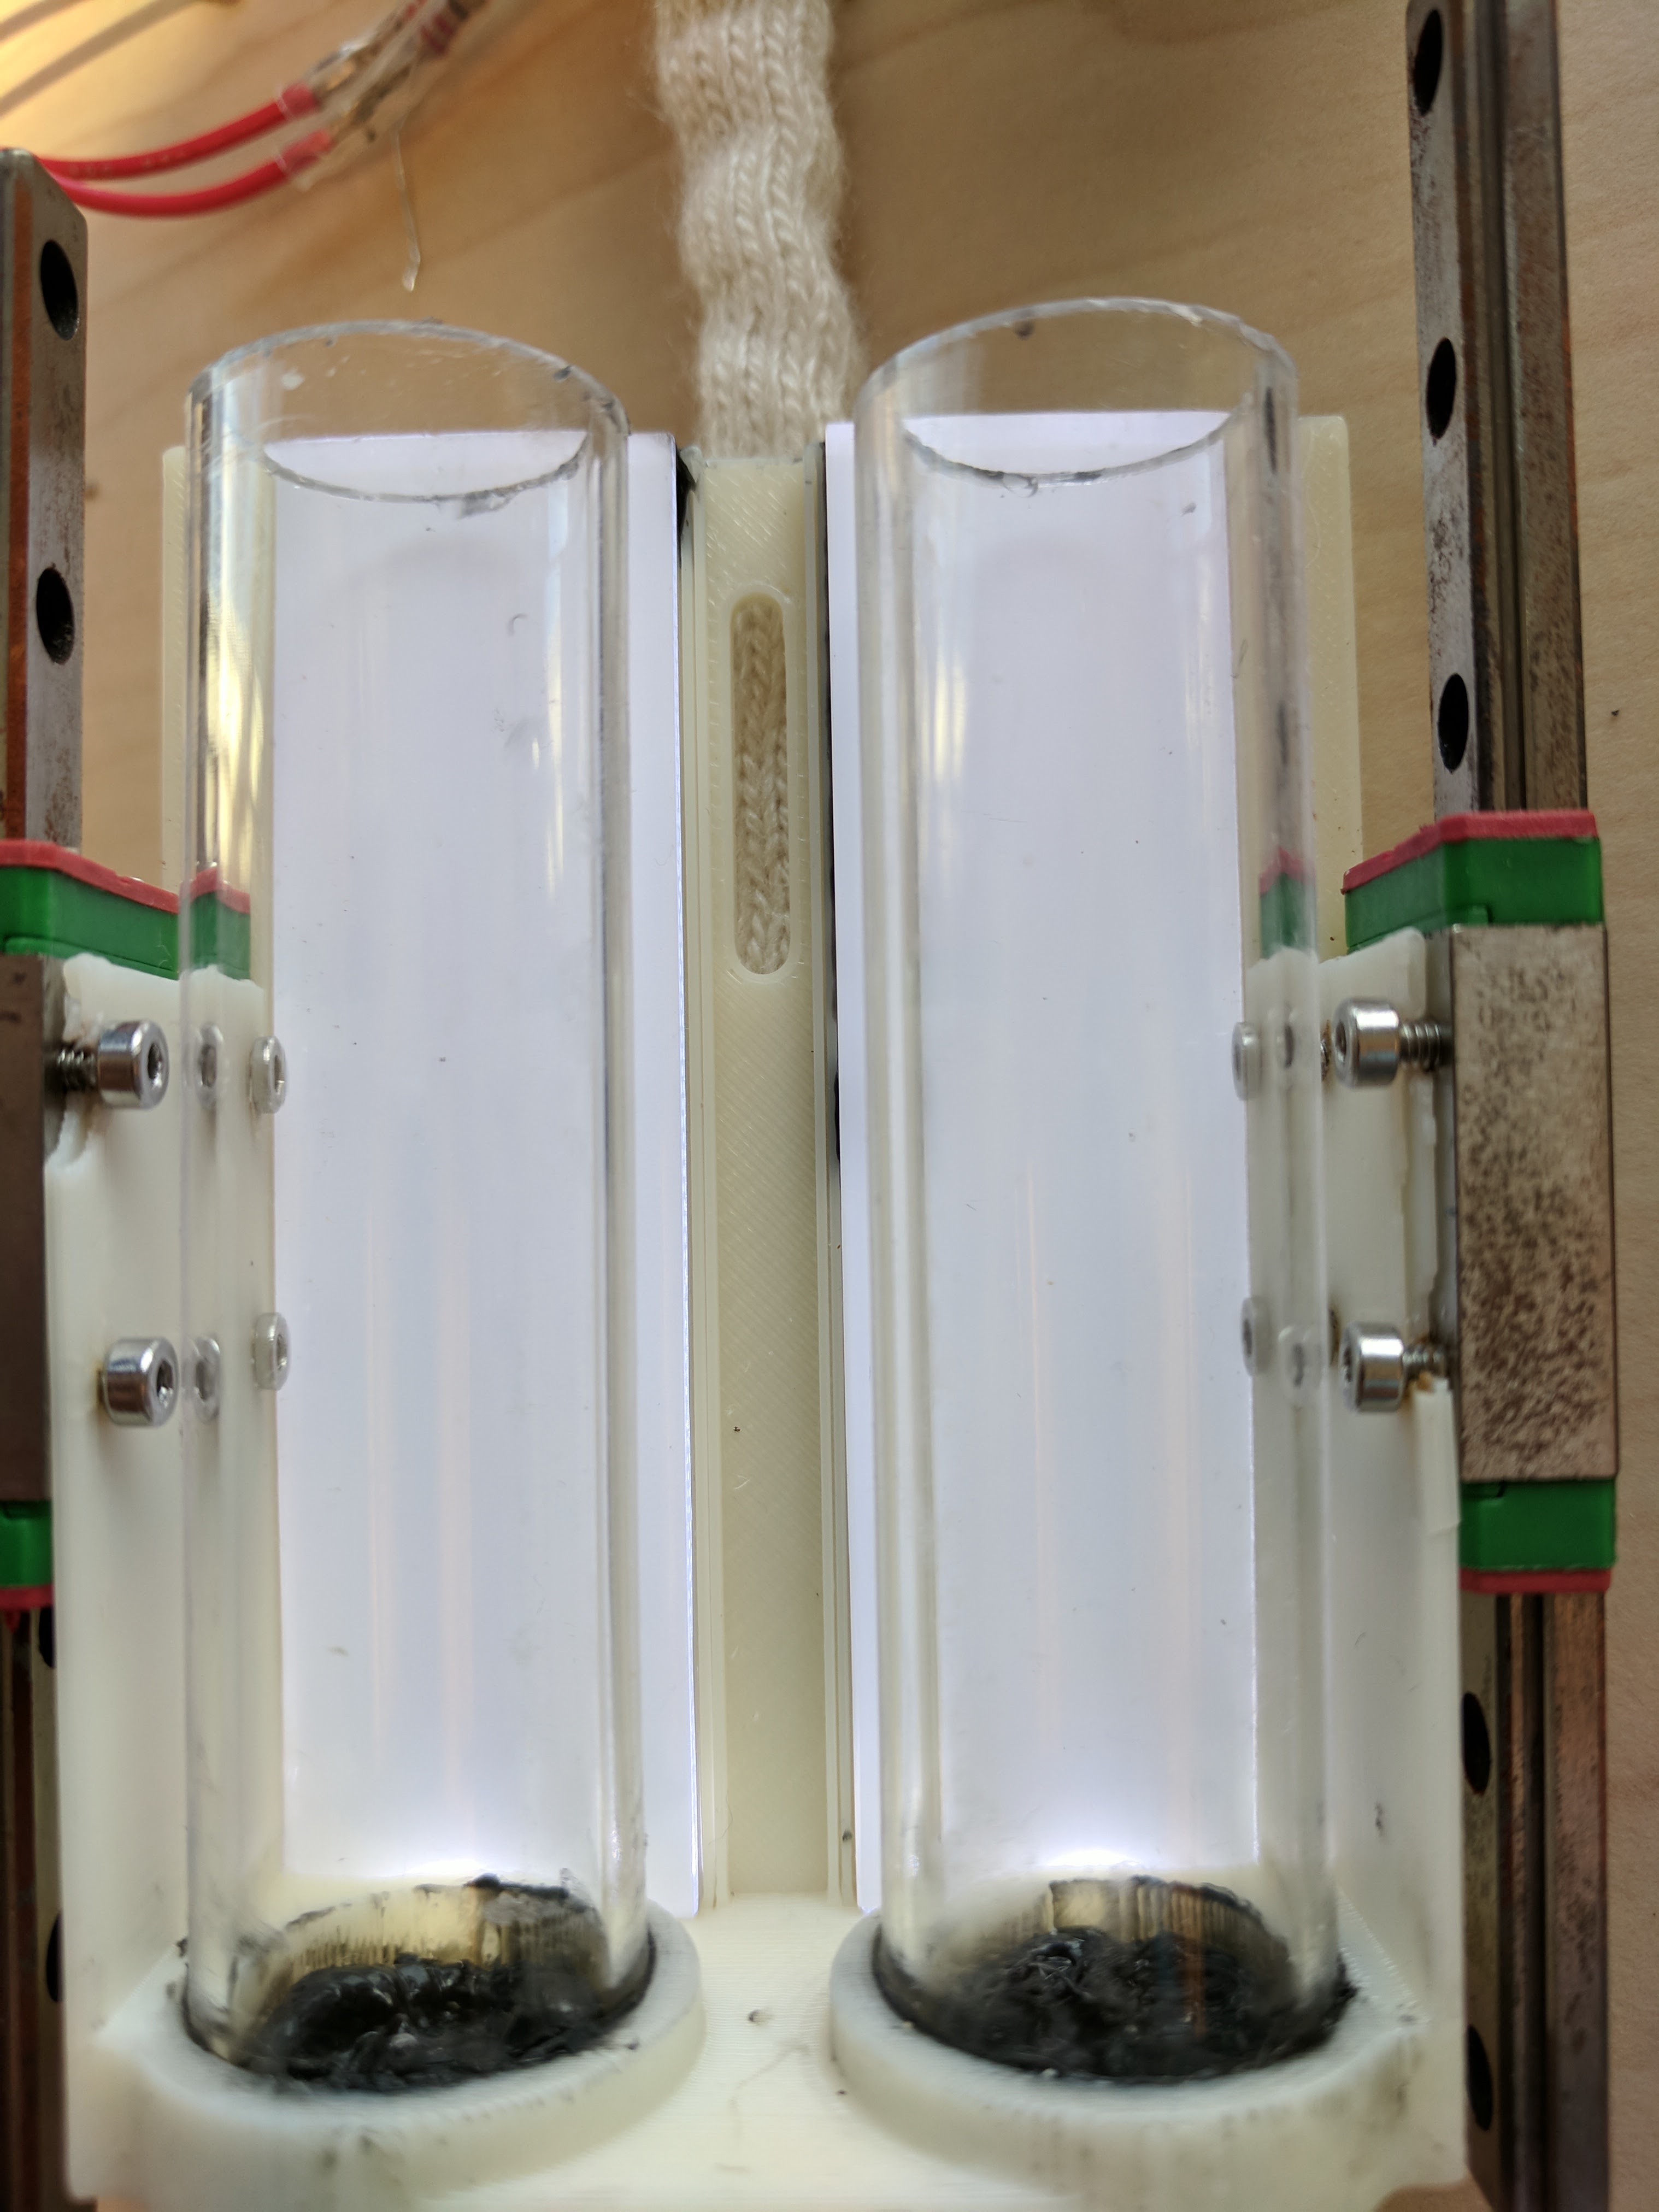
After receiving the payload, we removed the outer cover and began the post-flight inspection. Immediately apparent was that the fluid containers had leaked. I was concerned that this had occurred sometime before or during the flight, as it was last inspected 2 months prior to the flight. The real relief was finding the 12-minute long video file on the SD card. We downloaded the video and watched anxiously the results of over a year of hard work.
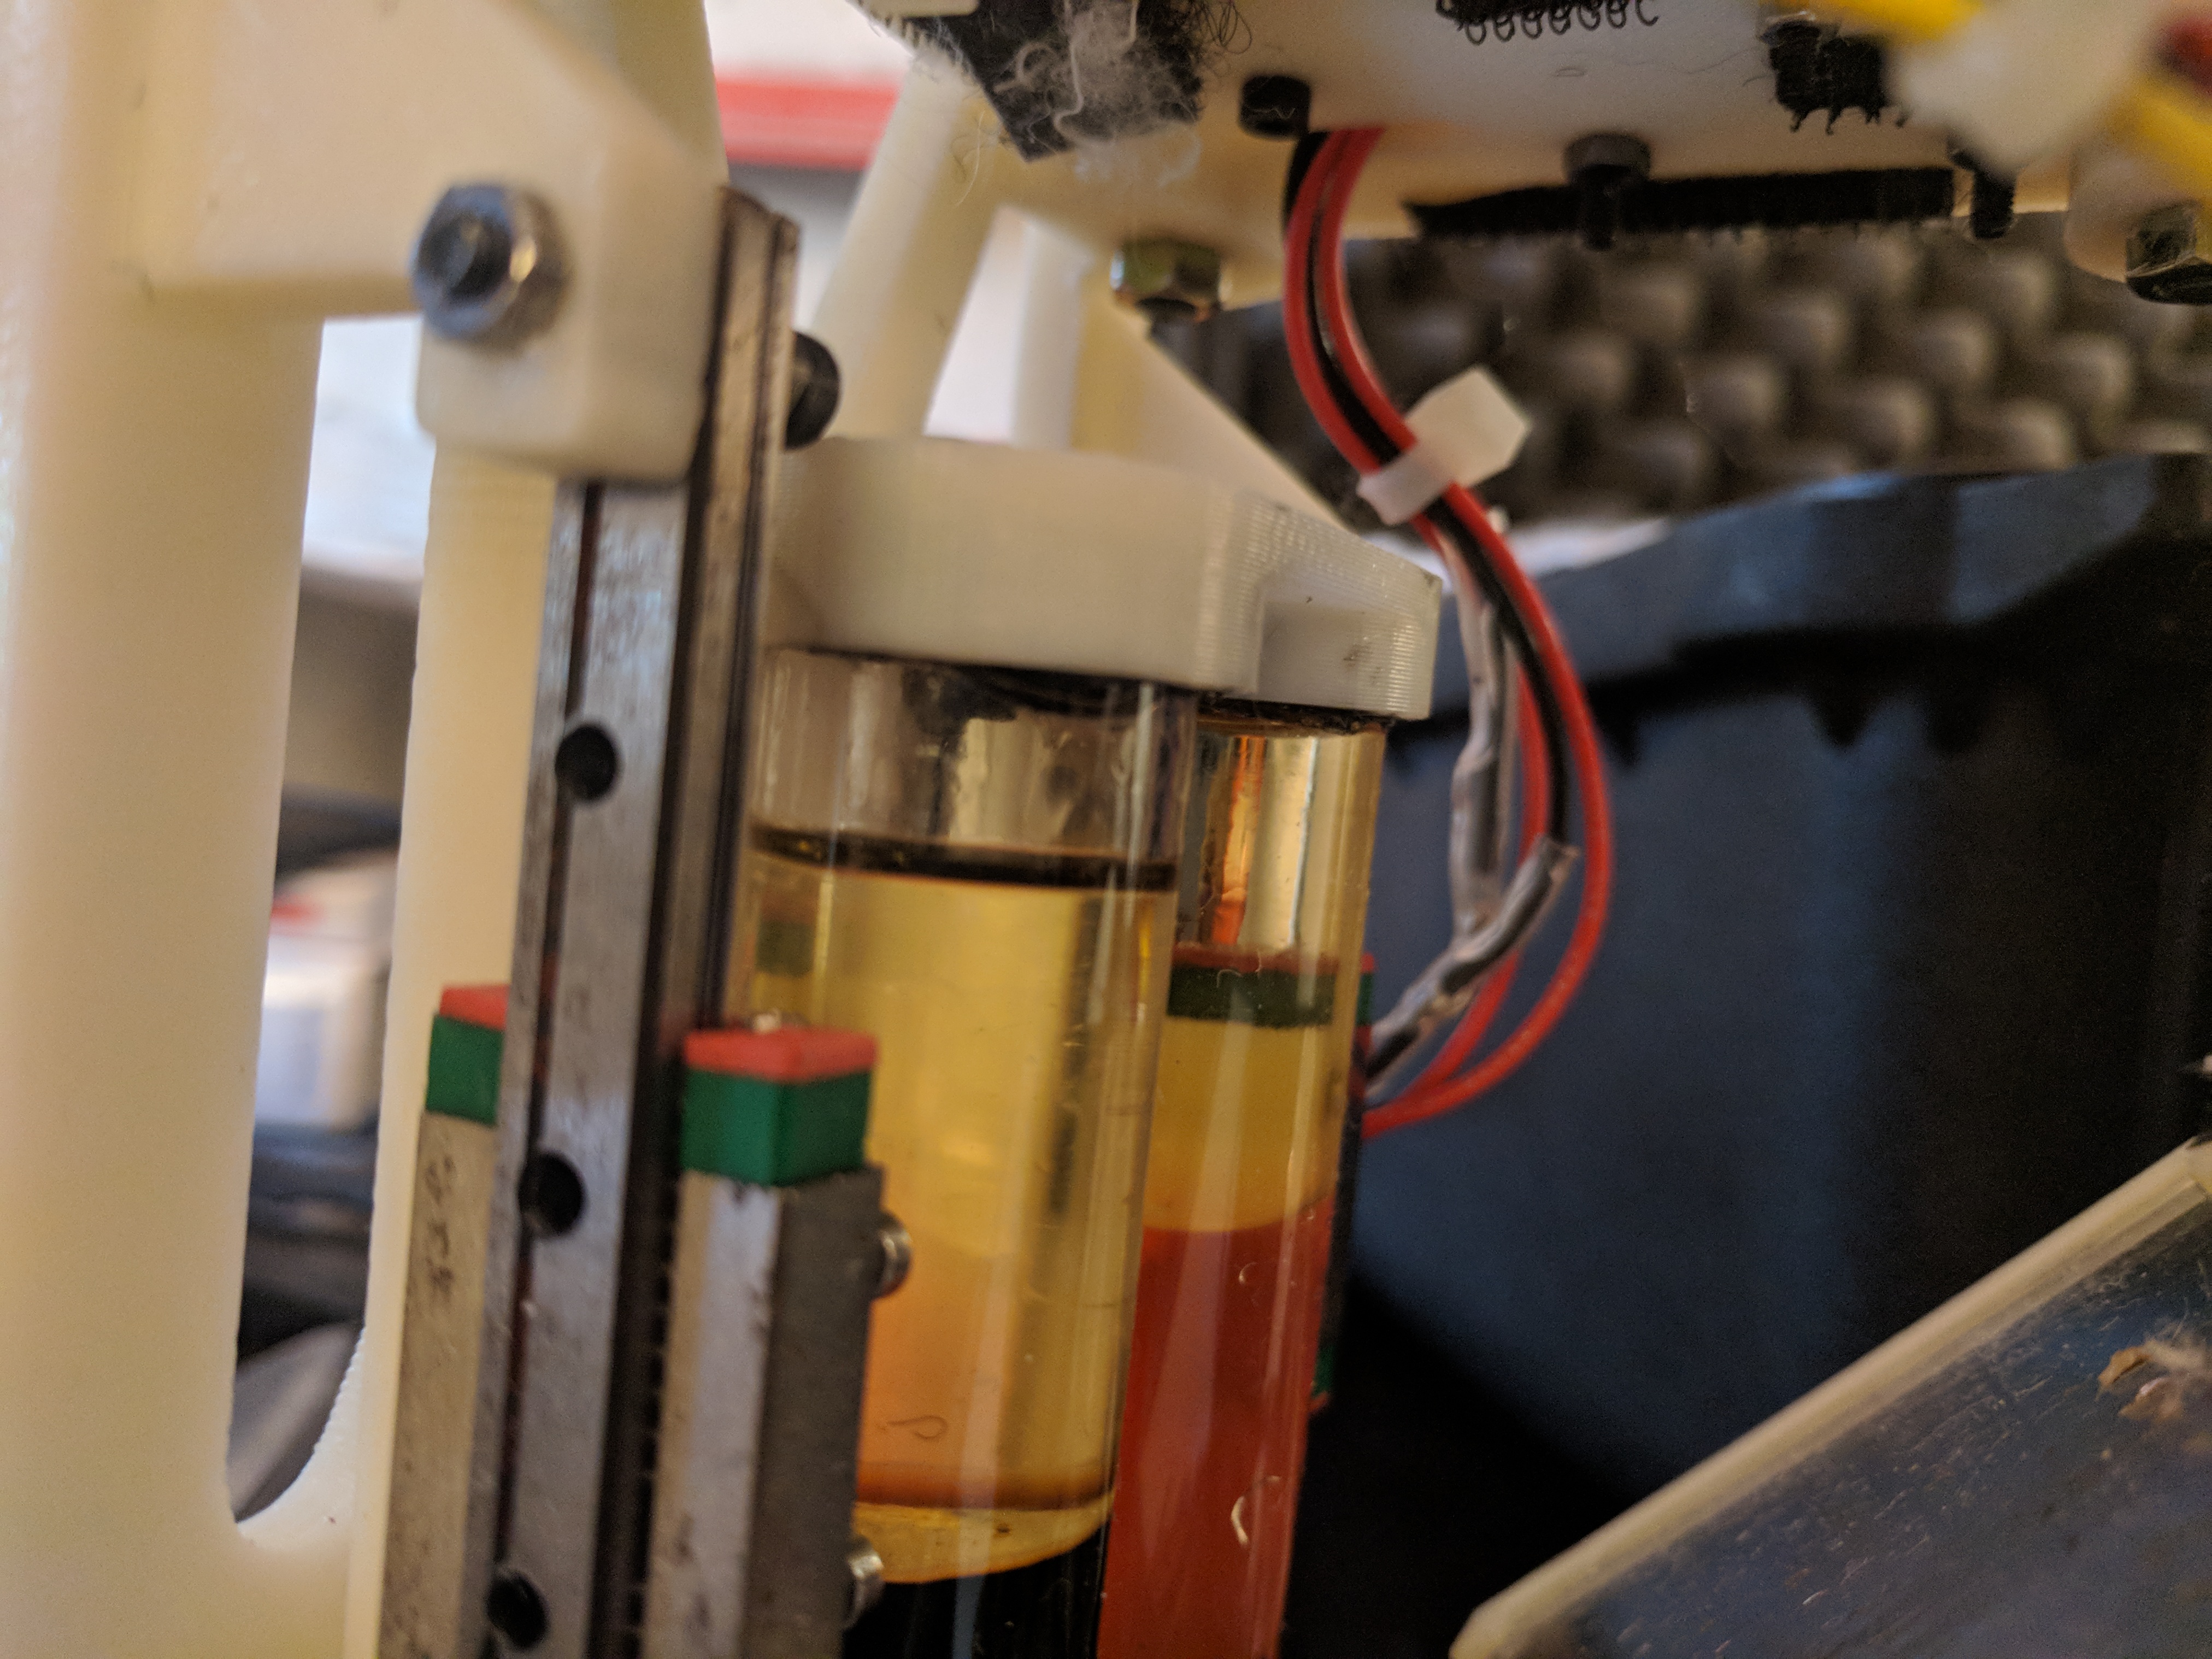
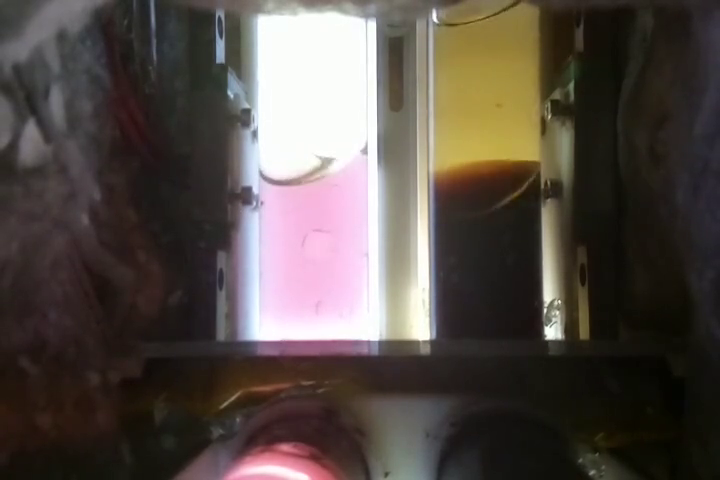
The video recorded some excellent data, showing some unique bubble formations in microgravity and during the 5g reentry. The shaking system worked well and most importantly, the fluid containers did not leak throughout the flight. We suspect that the payload was damaged in transit back to Seattle, after the launch.
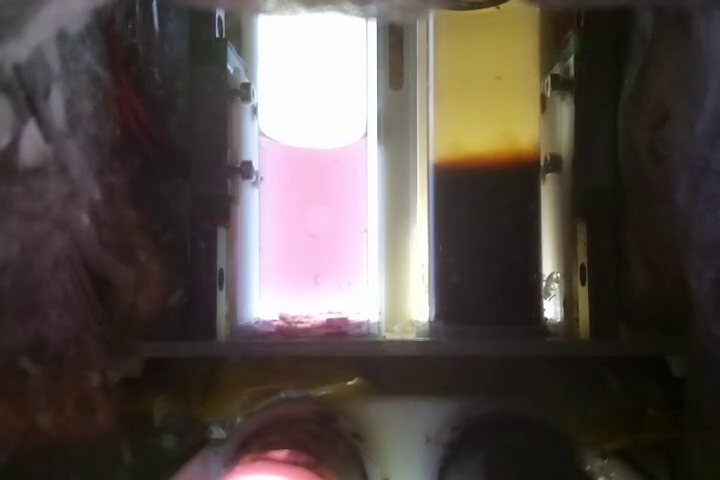
The flight was exceedingly gentle and we didn’t observe as much fluid mixing as anticipated due to this. An interesting observation we didn’t expect was during landing. The capsule slides like an air hockey puck due to the retro thrust system, which caused a unique disturbance in the fluids.
Final Thoughts
This project was fast paced and I am incredibly proud of the results we achieved. It was quite an experience dealing with the requirements set by Blue Origin along with managing a team. While there are some things I would have done differently, I am incredibly grateful for the time I spent on RainerOne.

